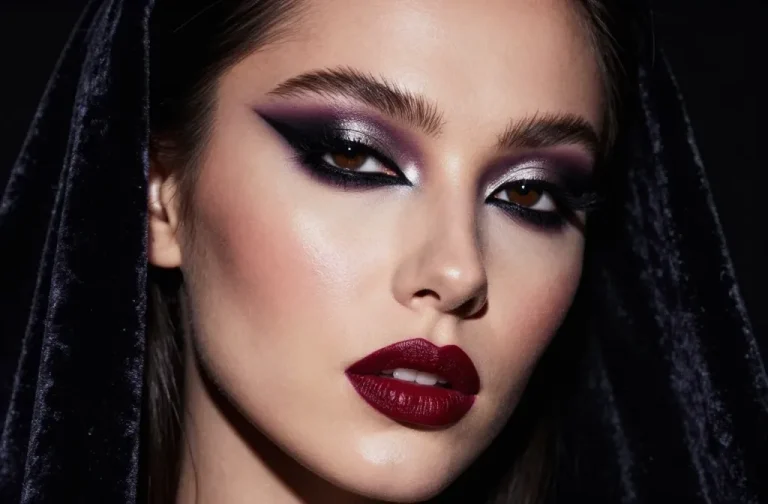
Ready to tweak your makeup game and get that perfectly sculpted button nose? These tips are practical, fun, and foolproof. FYI, you’ll likely fall in love with the process even more than the result.
1. Contour with Care: Create a Soft Button Snout

Contour is your best friend when you want a defined yet natural button nose. The goal isn’t a harsh line; it’s a gentle shadow that nips the tip and subtly slimlines the bridge.
Key points:
- Use a cream contour two shades darker than your skin for easy blending
- Apply with a light hand and build gradually
- Keep edges diffuse for a believable finish
Start by mapping the sides of your bridge with a tiny amount of product, then softly blend toward the tip. Trust me, the payoff is a nose that looks naturally refined in all lighting.
2. Highlight Strategically: Bring the Center Forward

Highlighter isn’t just for cheekbones. When used right, it accentuates the center of your nose and creates that cute button silhouette. The trick is subtlety and placement.
Why it works: a bright center draws attention to the tip while keeping the sides shaded, which visually shortens the nose.
Tips for Perfect Placement:
- Dot a tiny amount on the bridge tip and the very center of the nose
- Use a cool-toned highlighter to avoid a greasy look
- Set with a light dusting of translucent powder to prevent sparkle overload
After blending, step back and check in natural light. The button nose should look polished, not painted on. IMO, a flawless glow is worth the minuscule extra effort.
3. Shape the Brim: Define the Nose Bridge Subtly

A clean, narrow bridge makes a button nose pop without shouting “overworked.” This is all about neat lines that stay soft.
What to do:
- Use a waterproof brow pencil or a matte brown liner two shades lighter than contour
- Draw ultra-light, tiny lines along the sides of the bridge, not the center
- Feather the edges with a clean brush for a natural fade
End result: a refined bridge that doesn’t demand attention—just admiration. Seriously, you’ll notice people looking at your eyes and then your nose in the best way.
4. Blur the Boundaries: Melt Edges for Realism

Harsh lines scream “fake.” The secret to a convincing button nose is seamless blending so the changes look like a natural feature.
How to blur like a pro:
- Use a damp beauty sponge or brush to blend contour and highlight together
- Go back and forth along the sides until nothing is crisp
- Lock everything in with a light translucent powder and a setting spray
Pro tip: avoid overdoing the contrast between light and dark—keep it cohesive. FYI, soft is the new sharp in this vibe.
5. Finishing Touches: Set with Style and Confidence

Seal the look with a minimal, long-lasting finish. The right setting product makes all the difference in keeping a button nose looking flawless from desk to dinner.
Final steps you’ll love:
- Light mist of setting spray to unify everything
- A tiny brush to tidy any stray contour lines
- A quick check in natural light, adjust if needed
When you’re done, your button nose should feel like a natural feature rather than a makeup experiment. Trust me, confidence is the best accessory here.
Whether you’re aiming for a delicate lift or a playful, almost kawaii vibe, these techniques help you sculpt without sacrificing your unique look. FYI, practice makes perfect, so give yourself a few tries to dial in the exact balance you love.
Ready to experiment? Grab a few shades you already own, test placements, and have fun with your reflection. You’ve got this, and you’ll look amazing no matter the lighting or angle.