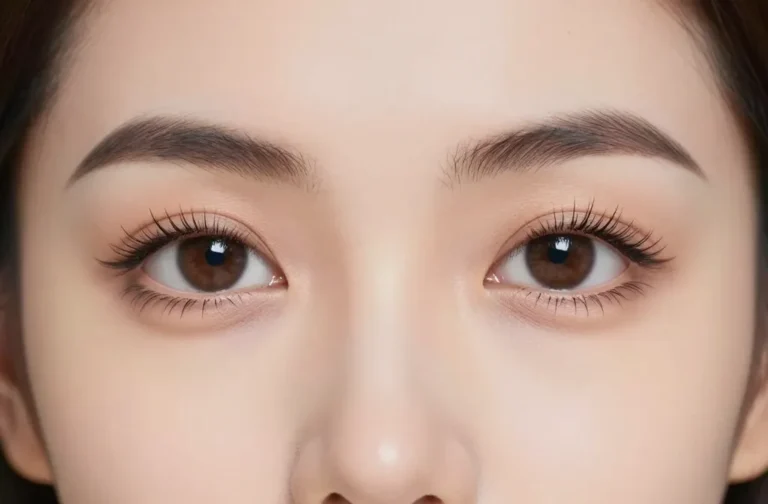
These tricks are short, sweet, and camera-ready. No fluff, just practical moves that make your skin glow and your smile pop on any photo.
1. Perfect Your Base With a Light, Photo-Friendly Layer

Flawless photos start with a skin-like base. Too heavy makeup just screams “I’m wearing makeup.” You want a natural finish that still smooths imperfections.
Key points to keep in mind:
- Choose a lightweight foundation or tinted moisturizer with a dewy or satin finish.
- Test color in natural light and blend down the neck for a seamless look.
- Set with a tiny amount of translucent powder on the T-zone only, so it doesn’t dull glow.
Why it works: a breathable base reads as soft and luminous in photos, without looking flat or chalky. FYI, you’ll save time and avoid that “cake face” moment. Trust me, this one sets the tone for everything else.
2. Shape and Define With Careful Contouring (That Doesn’t Look Dirty on Camera)

Contouring can sculpt your face for photos, but overdoing it reads harsh on camera. The trick is soft, blended definition.
Tips to hit the sweet spot:
- Use a cool-toned contour shade, applied lightly beneath the cheekbones and along the jawline.
- Blend upward for lift; avoid harsh lines that look muddy under flash.
- Keep it minimal on the nose and forehead unless you’re aiming for drama.
End result: a natural sculpt that translates well in both bright sunlight and indoor lighting. The benefits? A more defined face without shouting for attention, which is exactly what photos want.
3. Brighten the Under-Eye: No, Not with 5 Layers of concealer

Dark circles vanish when you target the root: color correction and precise placement. You want brightness, not a spotlight under your eyes.
How to nail it:
- Color correct with a peach or pink undertone if you’re dealing with blue-ish shadows.
- Apply concealer in a triangular shape from under the eye toward the cheeks, then blend outward.
- Set lightly with powder only where creasing happens; otherwise, you’ll lose that awake look.
Why this matters: bright under-eyes make you look rested and ready for a selfie marathon. Seriously, nobody wants to look tired in a photo—but you can fix it in minutes.
4. Blink-Worthy Lashes Without the Spiders: Several Quick Tricks

Lashes frame your eyes and read as awake in photos. The goal is definition, not clumps or spidery fences.
Simple route to glorious lashes:
- Curl lashes first to open your eyes, then apply a thin coat of mascara from base to tip.
- Wiggle the wand during application to separate lashes and avoid clumps.
- For extra pop, add a light coat of clear mascara on the tips to lift without heaviness.
Benefit: the eyes instantly look bigger and more vibrant, which is exactly what you want under camera flashes. IMO, mascara is the unsung hero of photo makeup.
5. Define Brows Like a Frame for Your Face

Brow shape can dramatically alter how your features read on camera. You want them to look natural, yet polished.
How to get there:
- Use a brow pencil or powder that matches your hair color for a soft fill.
- Follow your natural arch and brush through with a spoolie for a seamless finish.
- Fade the inner brow with lighter strokes to avoid a blocky look on photos.
Benefits: brows anchor your look, giving a structured frame that won’t fade into the background when you hit the flash. Seriously, proper brows = instant polish.
6. The Secret to Photogenic Lip Color (Not Too Bold, Not Barely There)
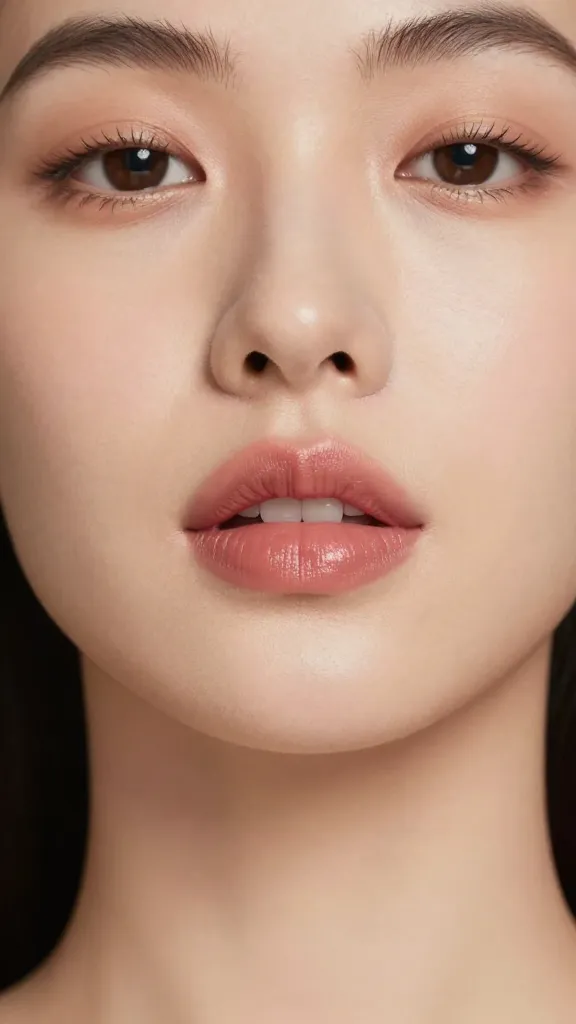
Lips can either pop or vanish in photos. You want a color that reads true, with lasting power and dimension.
Do this for lip perfection:
- Choose a lipstick shade with a hint of shine or satin finish to catch light nicely.
- Line lips with a shade close to your lipstick to prevent feathering in photos.
- Tap excess product with a finger and press lips together to distribute color evenly.
Why it matters: a well-chosen lip shade anchors the face and produces a lively, camera-ready smile. FYI, gloss over plain lipstick can help catch the light in a flattering way.
7. Finish with a Gentle, Camera-Ready Glow
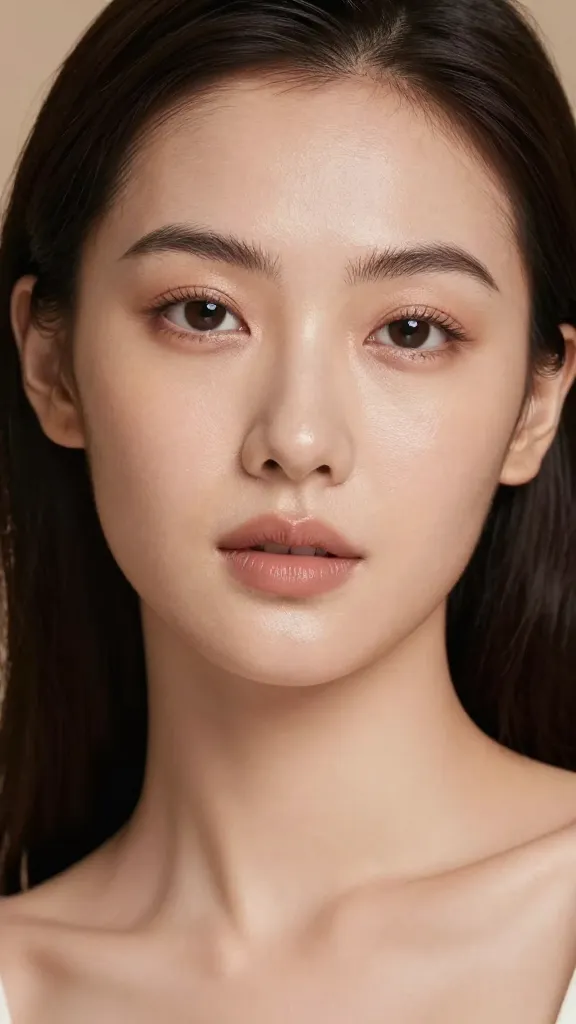
Highlighter is a love-hate thing on camera. Used sparingly, it gives you glow; overapplied, you’ll look sweaty or shiny in photos.
How to glow without glare:
- Apply a small amount to the high points: cheekbones, cupid’s bow, and the bridge of the nose.
- Go for champagne or pearl tones that catch the light rather than bright metallics.
- Blend well and avoid layering heavy powders in the center of the face where flash hits hardest.
Bottom line: a controlled glow accents your features without competing with the rest of your makeup. Trust me, you’ll see the difference in every shot.
Want to simplify? Try this quick routine: even out skin, add subtle contour, brighten under eyes, define brows, sharpen lips, and finish with a soft glow. It’s a foolproof combo that works across lighting—indoors, outdoors, or in a studio. Seriously, you’ll thank yourself after a few selfies.
Conclusion: You’ve got the playbook now. With these seven tips, every photo will feel like a compliment you gave yourself. Go try them, and watch your camera confidence grow—the lens will thank you.