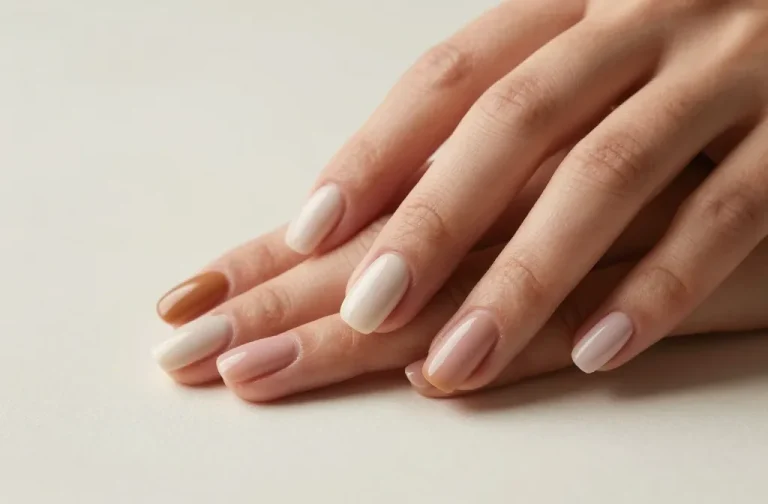
Jelly nails look like candy, glow like glass, and somehow make even grown-ups feel like they’re holding a lollipop. They’re translucent, juicy, and ridiculously fun. Want nails that catch the light and make you stare at your own hands? Jelly gel nails are your moment.
What Exactly Are Jelly Gel Nails?
Jelly gel nails are semi-sheer gel colors that give a glossy, see-through finish—think stained glass, but make it manicure. You apply them like regular gel, but the pigments stay translucent, so your nails look squishy and dimensional. It’s bold without feeling heavy, and playful without tipping into costume territory.
Why people love them
- High shine + depth: That glassy top makes colors look alive.
- Versatile: You can do minimal, maximal, or somewhere in between.
- Trend-proof: Jelly nails cycle back every summer, but they’re gorgeous year-round.
Choosing Your Jelly Palette
You can’t go wrong, but some shades hit different with the translucent vibe. Pick colors that look good when light passes through—if it would make a cute Jell-O mold, it’ll make a bomb jelly nail.
- Fruit brights: Cherry red, watermelon pink, tangerine, lime, grape purple.
- Soft candy tones: Milky peach, lilac, mint, baby blue.
- Neon jellies: Electric green, orange soda, hot pink—loud but wearable as jelly.
- Moody glass: Cola brown, smoky plum, sapphire—dramatic but still sheer.
Pro tip: Sheer vs. sheer-sheer
One coat = very sheer, two coats = classic jelly, three coats = richer glass. You control the opacity. IMO, two thin coats deliver that perfect candy window.
Prep Like a Pro (Because Finish Matters)

You can’t fake a clean base with translucent shades. FYI, the jelly reveals everything—ridges, fuzz, last week’s regrets—so prep gently and properly.
- Shape and buff: Lightly buff (180–220 grit) to smooth ridges.
- Cuticle care: Push back, remove hangnails—don’t overdo it.
- Dehydrate and prime: Wipe with alcohol; use a gel primer if your brand calls for it.
- Base coat: Thin, even layer. Cure fully.
Application: The Jelly Sandwich
- Apply thin coats of jelly gel. Cap free edges each time.
- Cure per product instructions (usually 30–60 seconds LED).
- Finish with a super-glossy top coat. Cure well. Wipe if it’s not no-wipe.
Design Ideas That Slap (In a Cute Way)
Jelly nails shine when you keep it simple—but also go wild if you want. Here are winning combos.
1) Pure Jelly Glass
Pick one color. Do two thin coats. Seal. It’s clean, chic, and looks good with rings. Red and cola brown look high-fashion; pink and lime scream summer.
2) Fruit Punch Mix
Alternate colors on each nail—think pink, orange, yellow, green, purple. It’s a rainbow, but softer because it’s sheer. It works with short nails, which is rare for a rainbow moment.
3) Jelly French
Do a sheer base in nude or pale jelly, then paint the tips with a translucent color—hot pink, cobalt, even a neon green. It’s French, but spicy.
4) Glitter Suspended in Gel
Layer a fine glitter in between two jelly coats—like a snow globe for your fingertips. Use tiny flakes for elegant sparkle or chunky glitter for party mode.
5) Chrome Veil
Apply jelly color, cure, then rub in a chrome powder. Seal with a glossy top. You get a translucent tint with a mirror sheen—extra, but not “full mirror ball” extra.
6) Negative Space Waves
Swipe curved jelly lines over a bare or sheer base. Two or three colors max. It’s artsy with zero stress because the jelly blends look intentional.
7) Jelly 3D Bubbles
Top your gel with a clear builder gel and form little domes. Cure, then add a thin coat of jelly over the bumps. Now it looks like water droplets—so satisfying.
Short Nails vs. Long Nails: What Works Best?
Jelly gels love both lengths. Short nails look crisp and modern, especially in fruit colors or a soft chrome veil. Long nails turn into stained-glass daggers (in the best way).
For short nails
- Try two coats only—keep it airy.
- Pick brights or milky pastels for a juicy pop.
- Simple designs: micro-French, glitter sandwich, negative space.
For long nails
- Play with ombré or layered decals under jelly coats.
- Go darker: cola, wine, or sapphire.
- Experiment with 3D accents and chrome veils.
DIY Jelly Gel: Tips, Traps, and “Please Don’t” Moments

You can absolutely do these at home. You just need patience and a solid lamp.
- Use thin coats only. Thick jelly coats wrinkle or never cure—sad times.
- Check the edge. Cap the free edge to prevent early chipping.
- Clean the cuticle area. Remove flooding before curing; otherwise it lifts.
- Stick with gel systems that match. Base + color + top from the same brand usually play nicest.
- Test the color depth. Swatch on a clear nail first; jelly shades can surprise you.
Mixing Your Own Jelly (If You’re Crafty)
You can create custom jellies by mixing a regular gel color with a clear gel. Try a 1:3 ratio color to clear, then adjust. Mix thoroughly so you don’t get streaks. IMO, start lighter—you can always add pigment, but you can’t remove it once you’ve gooped it.
Maintenance, Removal, and Keep-’Em-Glassy Care
You want that shine to last, right? Treat them like tiny glass sculptures, not power tools.
- Top coat refresh: Add a new top coat after 7–10 days for a fresh gleam.
- Cuticle oil daily: Hydrated nails = fewer chips and a better grow-out.
- Gloves for chores: Hot water and detergents dull shine. Not cute.
How to Remove Without Tears
- File the top coat to break the seal.
- Soak with acetone and foils for 10–15 minutes (or use soak-off clips).
- Gently push off softened gel; don’t scrape aggressively.
- Buff lightly, oil generously, and give your nails a breather if needed.
Trending Color Combos You’ll Want to Screenshot
- Strawberry Milk + Cherry Tip: Sheer pink base with red jelly French.
- Blueberry Soda: Cobalt jelly with a whisper of silver glitter under one coat.
- Tangerine Dream: Orange jelly ombré into a pale peach.
- Grape Crush: Purple jelly with chrome veil on accent nails.
- Matcha Mist: Soft green jelly with negative space waves in white.
FAQ
Do jelly gels last as long as regular gels?
Yes, when you apply and cure them correctly. They wear like standard gels because they are standard gels—just with translucent pigments. Expect 2–3 weeks, depending on prep and daily habits.
Can I do jelly nails on natural nails?
Totally. Use a solid base coat and keep the layers thin. If your nails bend a lot, consider a rubber base or a light builder gel underneath for extra strength.
What if I don’t own jelly colors—can I DIY the effect?
FYI, you can mix your regular gel color with clear gel (start 1:3) to create a jelly vibe. Stir thoroughly, swatch, then tweak opacity. Avoid adding alcohol or anything not meant for gels—it wrecks curing.
Will jelly nails look streaky?
They can if you rush or use too little product. Load your brush evenly, float the gel instead of pressing, and do two to three thin coats. A self-leveling top coat helps disguise minor streaks.
Are jelly nails safe for short nail beds?
Absolutely. Jelly finishes look great on short nails and can even elongate the look because of the translucence. Keep shapes tidy—round or squoval reads clean and intentional.
How do I keep the shine super glossy?
Use a high-quality no-wipe top coat and cure it fully. Re-top after a week, avoid harsh cleaners, and oil your cuticles daily. Shine loves hydration.
Conclusion
Jelly gel nails take color and turn it into candy—shiny, sheer, and just…happy. Whether you go classic glass red or full fruit salad, the look stays light and wearable. Mix your own, layer in glitter, or keep it simple—there’s no wrong move here, IMO. Go grab a jelly shade, hit cure, and enjoy the most fun your hands have had in ages.