Bent, cracked, or snagged nails are tiny catastrophes you can solve in minutes. These clever fixes keep nails sturdy and pretty without a trip to the salon. Let’s dive into practical hacks you can trust, today.
1. Seal the Break With Quick-Set Nail Glue

When a nail splits, you want to stop it before it gets worse. Nail glue acts like a tiny superhero cape, holding the piece together until you can file it down neatly. This move buys you time and prevents further damage.
How it works
- Apply a drop of glue directly over the split.
- Hold for 10-15 seconds to set.
- Let dry fully, then gently file to blend with the nail edge.
Finish with a thin coat of clear polish or top coat for extra protection. FYI, don’t reuse glue if it’s thick or clumpy—fresh bottle, fresh fix.
Benefit: Rapid containment of minor breaks, keeps your manicure intact longer.
2. Build a Tiny Patch With Tea Bag Method

No fancy tools? No problem. A tea bag patch is a smart, budget-friendly way to reinforce a stubborn crack. It creates a flexible patch you can shape and paint over.
What you’ll need
- One small tea bag (empty contents for cleanliness)
- Clear nail polish or top coat
- A fine nail file
How to do it: cut a tiny piece of tea bag to fit the crack, brush on a thin layer of polish, press the patch over the crack, and seal with another layer of polish. Repeat if needed until smooth. Seriously, it works miracles for those mid-length chips.
Benefits: Thin, flexible support that dries quickly and looks clean from afar.
3. Create a Protective Layer With a Fiberglass or Silk Wrap
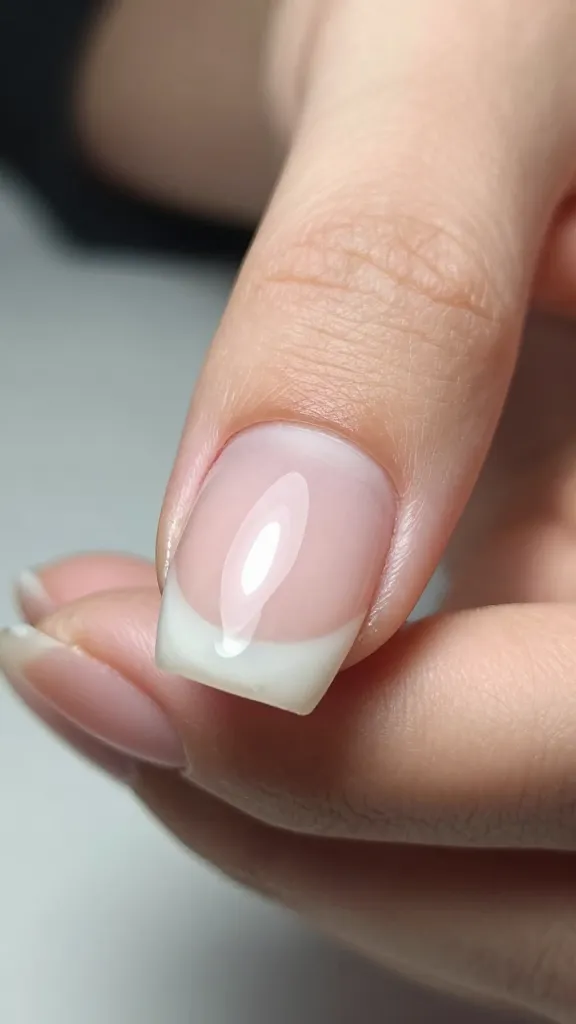
For more stubborn breaks or longer-lasting fixes, wraps provide durable reinforcement. They’re like a cast for your nail, minus the drama.
Key points
- Choose fiberglass or silk wraps designed for nails
- Cut to size, apply with adhesive, and seal with glue or resin
- Cover with two coats of clear polish for durability
End result: a reinforced edge that can grow out evenly. This is perfect if you’ve got a long, ambitious manicure planned next week—no heartbreak in sight.
4. File Smartly to Prevent Further Damage

Rough edges and jagged splits invite snagging and peeling. A careful file job smooths the surface and reduces the chance of the crack getting worse. Don’t rush—your future self will thank you.
Tips for best results
- Always file in one direction, not back and forth
- Use a fine-grit nail file (320–600 grit) for gentle shaping
- Lightly round the tip to reduce catching on fabrics
Bonus: after filing, apply a top coat to seal the edge and add shine. It doubles as a protective shield and makes the fix look intentional, not jury-rigged.
5. Strengthen With a Quick Nail Strengthener or Ridge Filler

If your nails feel fragile or show ridges, a strengthening formula can prevent future breaks and give you a smoother canvas for polish. It’s the subtle workhorse in your nail-care toolbox.
What to look for
- Protein-based strengtheners for resilience
- Ridge fillers to even out surface texture
- Glossy or satin top coats to lock in protection
Application flow: clean the nail, apply a thin layer, let it dry, then add a couple more layers as needed. Tap into a routine: a weekly strengthener session keeps nails happy and break-free. Trust me, your nails will thank you later.
All five methods offer practical, at-home relief without the drama of a salon fix. Try one that matches your break’s severity and your vibe for the day. FYI, combining a patch with a light file and top coat often yields the cleanest, most durable result.
So go ahead—grab what you’ve got, fix that nail, and stride into the day with a confident, glossy finish. You’ve got this, and your nails will too!