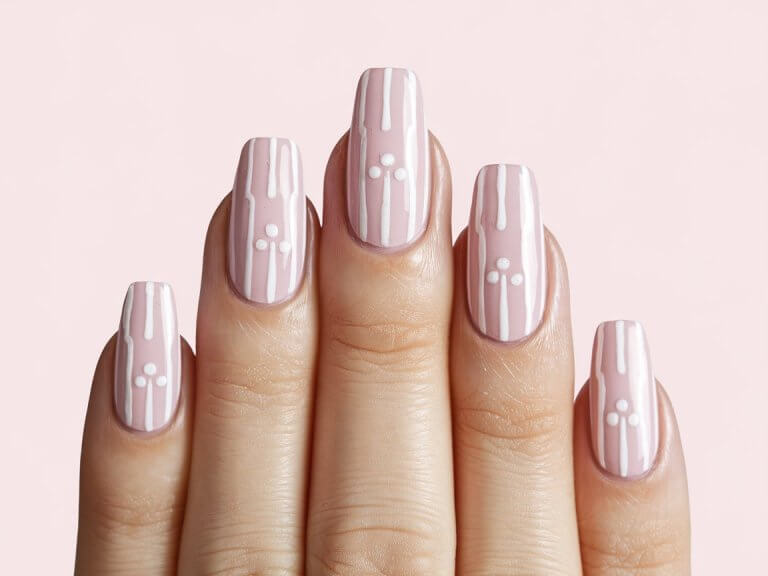
Gel nails can look fabulous, but removing them at home without harming your nails is an art. These five friendly methods prove you don’t need harsh tricks or pricey salon visits. FYI, you’ll save time and keep your nails happy.
1. Soak and Slide: The Gentle Foil Method You Can Do in 15 Minutes

This classic approachuses acetone, but done right it’s surprisingly gentle on cuticles and nail beds. The key is patience and letting the gel loosen with steady warmth.
Key Points
- Use 100% pure acetone for best results
- Soak off to 10–15 minute increments, not all at once
- Keep fingertips warm and comfortable during the process
Why it’s awesome: it minimizes mechanical lifting and gives you a clean slate to start fresh. Trust me, you’ll feel like a nail pro when the gel slides off in sheets.
2. Porous Buffer and Gentle Buffing: Quick Cleanup Without Harsh Chemicals
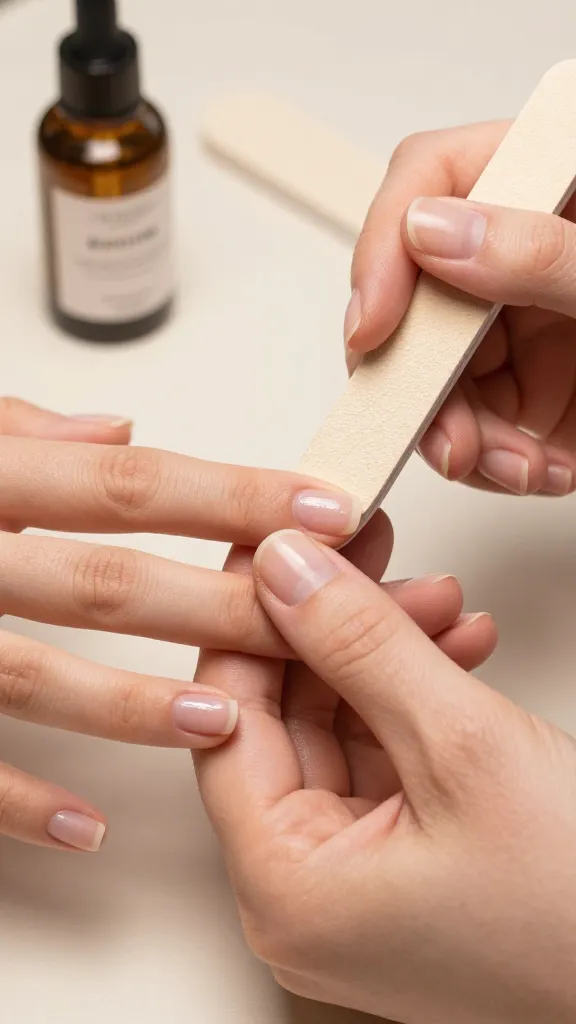
This method relies on patience and a gentle touch. It’s perfect if you’re dealing with thinner gels or just want to avoid acetone entirely. It won’t yank your nails—promise.
What to Do
- File the shiny topcoat lightly to roughen the surface
- Use a fine-grit buffer to ease the gel away
- Finish with a nourishing oil and gentle hand massage
Benefits: less drying, lower risk of nail plates peeling, and you’ll still get a clean look once you’re done. FYI, this is a great maintenance strategy if you’re between powder and gel systems.
3. Soak, Then Gently Push: The Padded Tool Technique
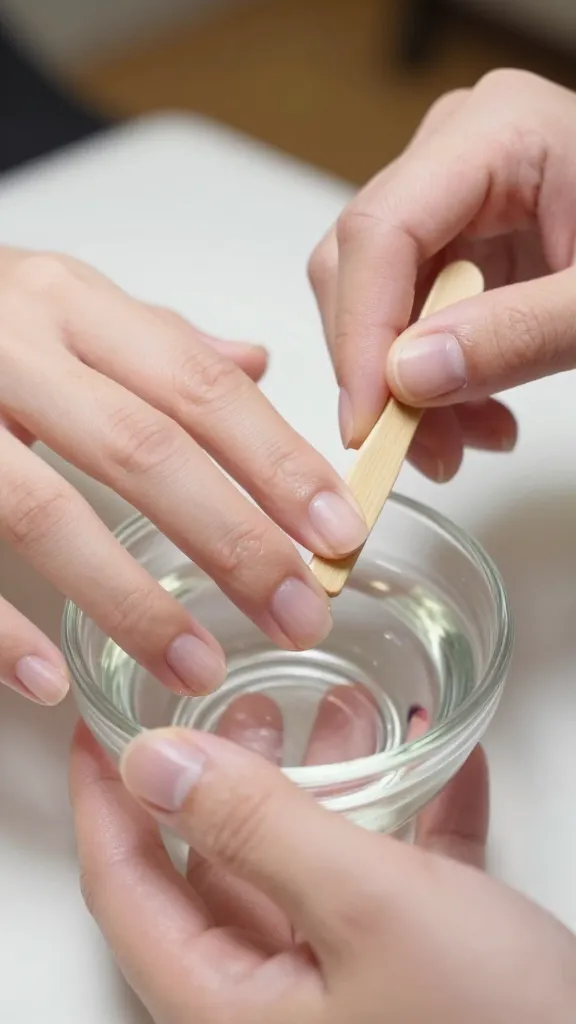
If you want a middle-ground method, soaking followed by careful pushing works wonders. It minimizes damage while still being pretty fast.
Steps to Shine
- Soak nails in acetone for 8–12 minutes
- Use a wooden or silicone cuticle stick to lift edges gently
- Avoid prying or tearing—let your patience do the heavy lifting
Why this sticks: you get controlled lifting with less friction than aggressive scrubbing. It’s satisfying when the gel yields without drama.
4. The Conditioning Tap: Hydration First, Peel-Free Removal
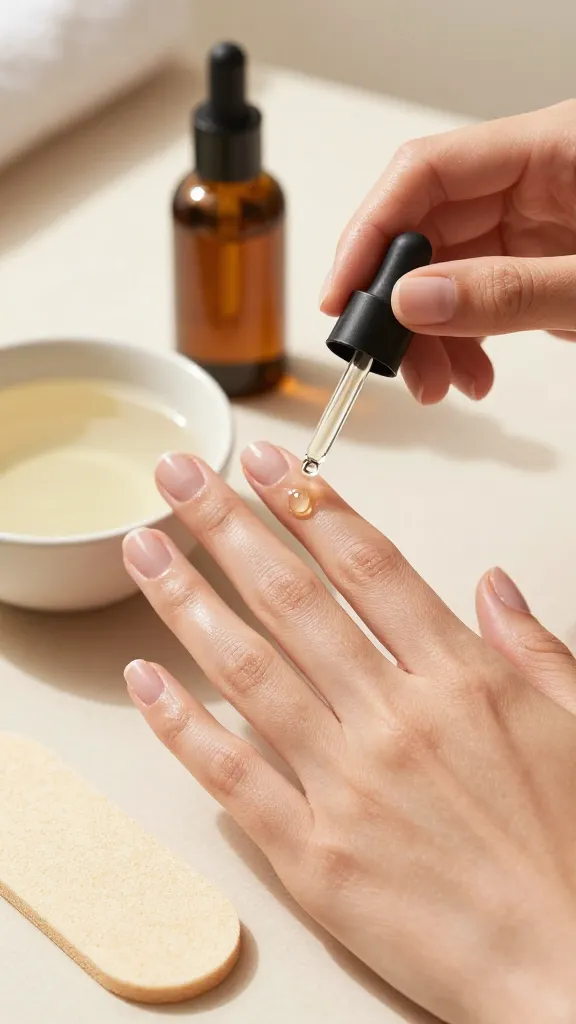
This method leans into hydration and gentle technique. It’s ideal if your nails feel dry or brittle after wear. Hydration helps the gel release more cleanly.
What You’ll Need
- Cuticle oil or a rich nail serum
- A soft buffer for a final polish
- A small bowl of warm water for a comforting soak (optional)
How it helps: hydrated nails stay flexible, making lift-off easier and reducing chances of peeling after removal. Seriously, your nails will thank you in the morning.
5. Peel-Free Peel Method: The Safe, No-Puss Method You Can Trust

If you’re overwhelmed by the other options, this is the simplest, least risky path. It focuses on letting the gel come off with minimal force and avoiding stress on the nail plate.
How to Execute
- Gently lift an edge with a cuticle stick when the gel begins to separate
- Slowly work around the nail, removing the gel in pieces
- Finish with moisture, a light buffer, and a rich hand cream
End result: clean nails without harsh scrapes or damage, ready for your next mani or a fresh base coat. Trust me, patience here pays off big time.
Now that you’ve got five safe options, which one sounds like your vibe? IMO, starting with the Foil Method is a solid test run, then you can switch to a gentler, buffer-based finish if your nails feel sensitive. FYI, you don’t need fancy tools—just a bit of patience and a kind approach.
By using these methods, you’ll protect your natural nails, minimize brittleness, and keep your cuticles healthy. You’ll be ready to experiment with new colors or textures in no time.