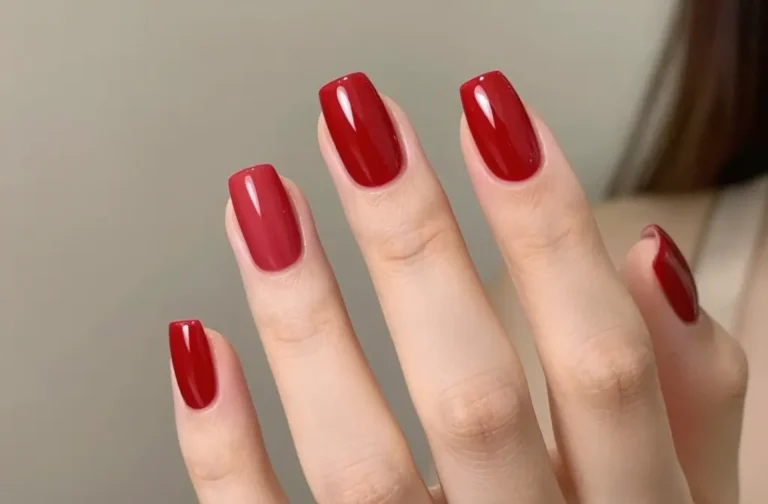
Ready to upgrade your nails without stepping foot in a salon? These 10 tips will level up your gel mani at home, quickly and confidently. Trust me, perfect edges and shine are closer than you think.
1. Prep Like a Pro: Cleanse, Buff, and Push

You can’t build a dream gel manicure on a dirty foundation. Start by giving your nails the spa treatment they deserve, even if you’re juggling a chaos-free evening or a Netflix binge.
Why it’s awesome
Proper prep reduces lifting and ensures long-lasting wear. A clean canvas equals better color payoff and less chipping.
- Wipe nails with a gentle nail cleanser or 70% isopropyl alcohol
- Lightly buff the surface to remove shine
- Gently push back cuticles with a wooden stick
Pro tip: don’t skip this step—even a tiny speck of oil wrecks adhesion. FYI, small steps compound into big results.
2. Shape and File for Flawless Edges
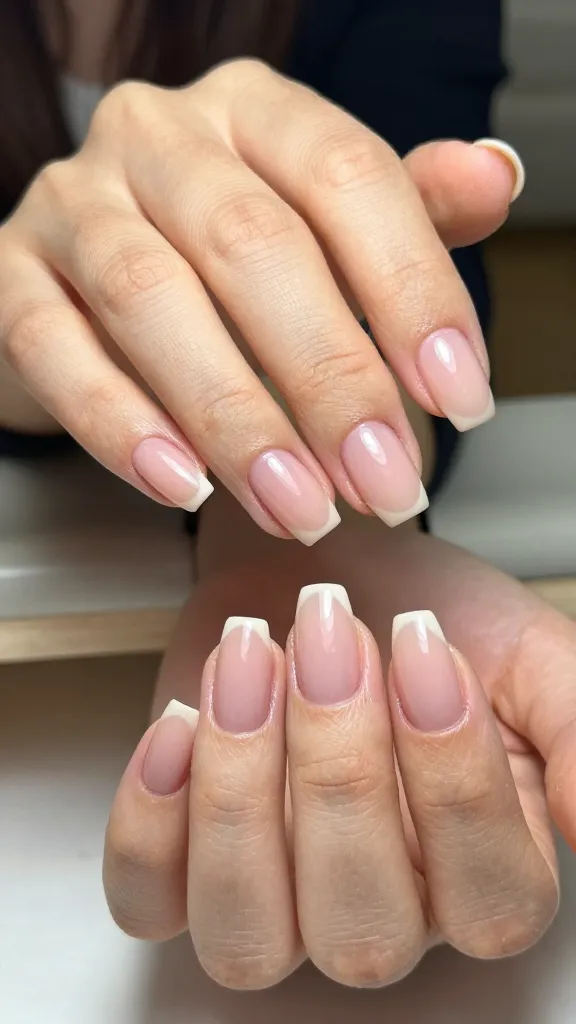
A good shape makes color pop and prevents chipping at the tips. Shape is not optional—it’s the frame for your nail art and color.
Key points
- File in one direction to reduce shedding
- Aim for a gentle C-curve to avoid snagging
- Match both hands for symmetry in your mani
End goal: sharp but not serrated edges, a neat apex, and a nail bed that looks longer than it is. Seriously, framing matters as much as the polish itself.
3. Use a Peel-Off Barrier to Save Your Nails

Barrier tape or a silicone shield isn’t just for messy gel paint—it’s your secret weapon for cleaner cuticles and easier cleanup.
What to do
- Apply barrier around the nail plate before base coat
- Remove after cure without tugging on skin
- Reuse or replace with fresh each manicure
Benefits are real: less mess, less time spent cleaning, and no stubborn gel on your skin to soak off later. IMO, this is a tiny hack with huge payoff.
4. Choose the Right Base Coat for Longevity

The base coat is your foundation—skip it, and your color fades faster than your motivation to exercise on Sundays.
Tips
- Choose a gel-based base coat for stronger adhesion
- Apply a thin, even layer and cure as directed
- Consider a ridge-filling base if you have textured nails
Benefits: stronger wear, less lift, smoother color application. Trust me, your future self will thank you when you’re still rocking your mani on week two.
5. Layer Color in Thin Coats for Even Coverage

Gel polish loves to be applied in thin layers. If you flood the nail or glob it on, you’ll battle peel and bubbles.
How to layer
- Apply 1 thin coat, cap the free edge, and cure
- Repeat with a second thin coat for full opacity
- Finish with a top coat that has a strong mirror shine
Tip: don’t rush the cure times—shortcuts = thinning the longevity. FYI, patience pays with a glassy finish that looks salon-grade.
6. Seal with a High-Gloss Top Coat for Sale-Wroom Shine

A top coat is the jewelry on your nails. It seals, adds shine, and makes your gradient or glitter pop like whoa.
What to watch for
- Pick a UV/LED top coat compatible with your lamp
- Cap the free edge to prevent lifting
- Wipe the nail with alcohol after curing to enhance gloss
Benefit: that glossy, durable finish that makes your nails look like they just walked out of a spa. Seriously, it’s the cherry on top.
7. Gentle Removal Is a Skill: Soak, Don’t Pick
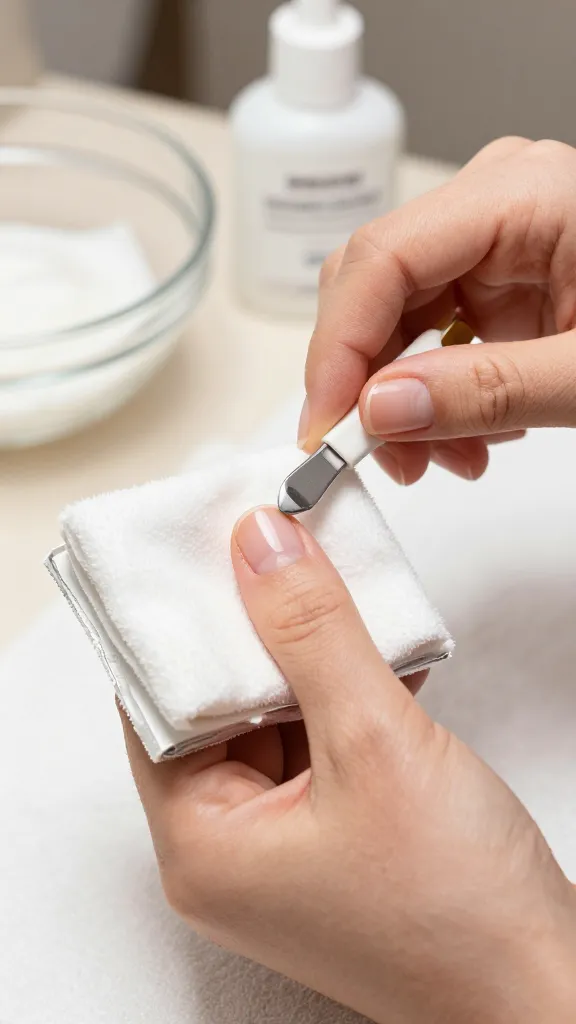
<pRemoving gel incorrectly causes nail weakness and breakage. Soaking is the kinder path, even when you’re impatient.
Step-by-step
- Buff the top surface to break the seal
- Soak in pure acetone or use foil wraps with cotton
- Gently lift softened gel with a cuticle pusher
Note: moisturize after removal to replenish any dehydration. FYI, patience here protects your future nails from trauma.
8. Cuticle Care That Supports Longevity
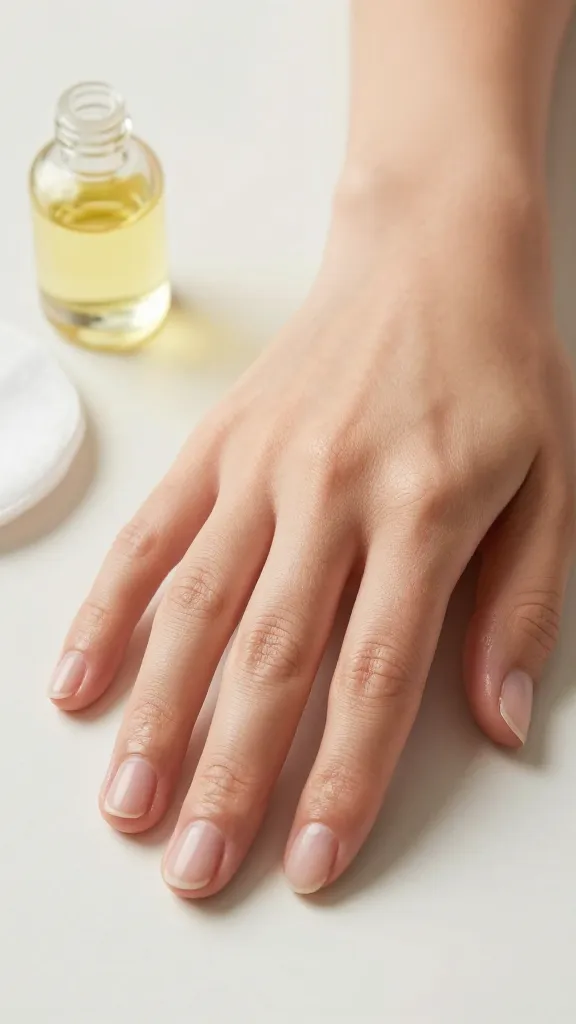
Healthy cuticles keep nails neat and polish from lifting at the edges. Your mani starts at the cuticle line, so treat it kindly.
Optional boosts
- Soothing cuticle oil daily
- Gentle hand massage to boost circulation
- Hydration boost with a light hand cream
Benefits: smoother edges, less frequent lifting, and nails that look well-cared-for—because healthy nails are happy nails.
9. Gel Art and Accents: Easy Ways to Personalize

Spice up your gel mani with simple accents. You don’t need a salon’s full toolset to get cute results.
Ideas and tips
- One accent nail with a small sticker or a dot-dot-dash pattern
- Use a fine brush to create stripes or a tiny geometric design
- Combine a sheer jelly shade with glitter for subtle glam
Why it’s awesome: you can customize every manicure to match mood, outfit, or emoji of the day. Seriously, nail art doesn’t have to be complicated to look chic.
10. Practice Makes Perfect: Build Your At-Home Routine

Consistency beats intensity. A steady routine makes gel manicures faster, longer-lasting, and easier to replicate.
Simple routine you can follow
- Set up a dedicated, organized workspace
- Keep your lamp, brushes, and wipes within arm’s reach
- Allocate time blocks for prep, color layers, and top coat
Benefits: you’ll shave minutes off each session, reduce errors, and gain confidence to try bolder colors. IMO, the best mani is the one you can recreate without stress.
Ready to start? Your at-home gel manicure toolkit doesn’t have to be fancy—just consistent, clean, and curious. With these ten tips, you’ll see a noticeable jump in polish longevity, shine, and overall finish. FYI, you’ve got this.
Conclusion: You’ve got the knowledge—now go grab your lamp, pick a shade, and flex those salon-quality nails from the comfort of home. You’ll be showing off your flawless gel mani in no time.