Want that “I woke up like this” glow without spending 45 minutes blending? This routine nails a clean, elevated look in under 10. We’ll hit the high-impact moves only—no overkill, no complicated palettes. If you can swipe, tap, and smudge, you’re golden.
Ready for makeup that works with your morning coffee and not against it? Let’s give you a polished face that still feels like you.
1. Prep Like You Mean It: Skin First, Makeup Second
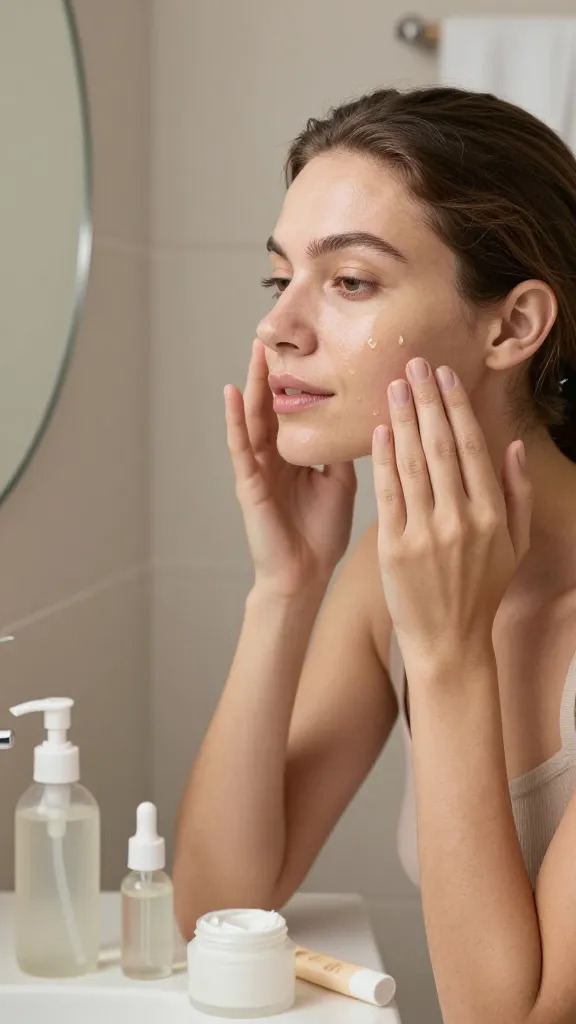
Your base decides everything. Nail your prep, and you’ll need less product and less time correcting. Think of this as the 60-second secret to looking rested and glowy, even if you slept like a raccoon.
Quick Prep Flow
- Cleanse (lightly): Micellar water or a gentle gel to remove overnight oil.
- Hydrate: A serum with glycerin or hyaluronic acid boosts slip and glow.
- Seal + Protect: Lightweight moisturizer and a broad-spectrum SPF 30+ that doesn’t pill.
Want to look extra alive? Press a few drops of a sheer, non-greasy face oil over high points after SPF for a soft-focus sheen. Avoid heavy oils if you’re oily—stick to gel moisturizer and a mattifying sunscreen on T-zone.
Pro Tips
- De-puff fast: Ice roller or chilled spoon under eyes for 30 seconds.
- Texture check: If your sunscreen pills, let layers dry 60 seconds between steps.
- SPF that plays nice: Gel or milk formats typically layer best under makeup.
Benefit: Proper prep lets every product glide, grip, and stay, so you look polished with less makeup.
2. Strategic Base: Tint, Conceal, And Glow (Without The Cake)
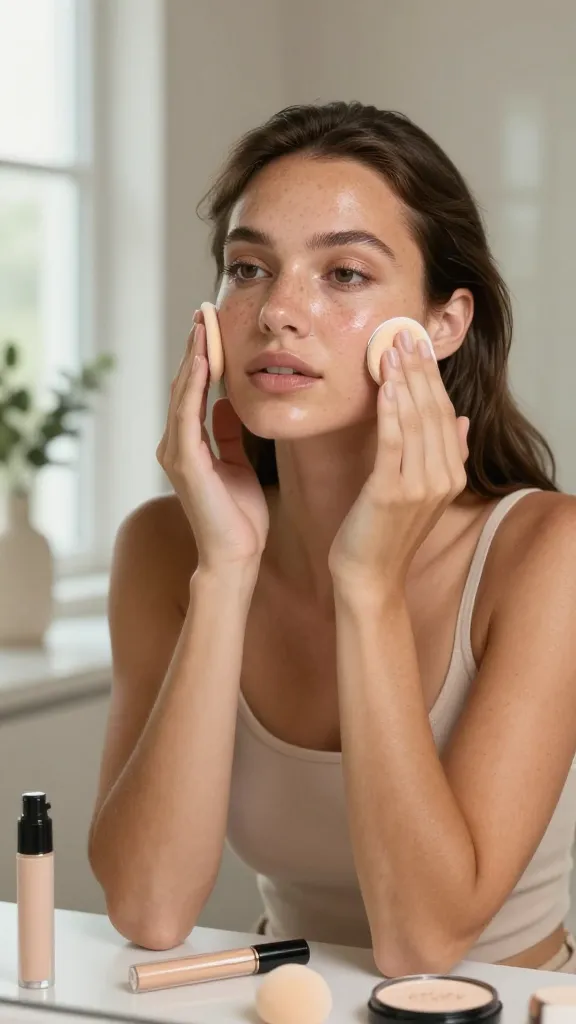
We’re not spackling a wall; we’re even-ing tone and hitting only what needs it. Sheer coverage looks modern, fresh, and expensive. Bonus: it survives real life—sweat, masks, and surprise selfies.
Your Minimal Base Trio
- Tint: Tinted moisturizer, skin tint, or light coverage foundation. Dot in the center of the face, then blend outward with fingers or a damp sponge.
- Conceal (only where needed): Target under-eyes, around the nose, and any redness. Tap, don’t drag.
- Set (selectively): Translucent powder just on the T-zone or under eyes to prevent creasing.
Want that “lit-from-within” thing? Mix a pea-sized amount of liquid illuminator with your tint or tap it on cheekbones, bridge of nose, and temples. Keep glow away from active breakouts—highlight texture and it highlights you back, IMO.
Shade + Undertone Tips
- Neutral undertone: Veins look blue-green; most brands label this “N.”
- Warm/golden: Veins look green; choose “W,” “Warm,” or “Golden.”
- Cool/rosy: Veins look blue; pick “C,” “Cool,” or “Rosy.”
Benefit: A strategic base keeps skin looking like skin—just smoother, brighter, and photo-friendly.
3. Cream Color Triad: Bronzer, Blush, And Brows (The Fast Lift)

Color brings your face back to life. With three moves—soft sculpt, a pop of blush, and tidy brows—you look awake and intentional, not “fully beat.” Creams blend fast and wear beautifully.
How To Place Color
- Cream bronzer/contour: Sweep along the temples, hairline, and just under cheekbones. Think “sun-kissed perimeter,” not tiger stripes.
- Cream blush: Smile softly and tap on the apples, then sweep back toward temples. For a lifted look, keep it higher than you think.
- Brows: Brush up with clear or tinted gel, fill sparse spots with a skinny pencil using hair-like strokes.
Trick for speed? Use a multi-stick for bronzer and blush. One stick, two shades, 20 seconds. If you’re super fair, go softer on bronzer and focus on rosy blush. If you’re deep-toned, choose rich terracotta or berry blush for instant radiance.
Choose Your Formulas
- Oily skin: Cream-to-powder blush and gel bronzer stay longer.
- Dry skin: Balmy creams add glow without clinging to texture.
- Sensitive skin: Fragrance-free options reduce irritation.
Benefit: These three steps shape, color, and frame your face so you look polished even with the lightest base.
4. Eyes, But Make It Effortless: One-And-Done Shadow, Tightline, And Curl

We’re skipping 12-shade palettes. A single wash of color, subtly defined lashes, and a curl gives the illusion of eight hours of sleep and enviably bright eyes. Seriously, this is the most “wow for the time” move.
Eye Routine In Under 2 Minutes
- One-and-done cream shadow: Swipe a taupe, soft bronze, or rosy-brown across the lid, then smudge with a clean finger. Cream sticks are basically foolproof.
- Tightline: Press a waterproof brown or black pencil into the upper waterline to thicken the look of lashes without a visible liner stripe.
- Curl lashes + mascara: Pulse the curler at the base and mid-lash. Apply a tubing or smudge-resistant mascara for clean definition.
Want extra polish? Tap a bit of highlighter or pearly shadow at the inner corners and brow bone. Keep lower lash mascara minimal if you smudge easily—just a micro coat or skip it.
Shade Shortcuts
- Cool-toned skin: Try mauve, taupe, or cool brown.
- Warm-toned skin: Bronze, caramel, or peachy brown.
- Deep skin: Rich cocoa, copper, or plum reads vibrant and luxe.
Benefit: Defined eyes with zero fuss make you look awake, pulled together, and like you “did something” without actually doing much.
5. Finish Strong: Minimal Lips, Micro-Highlight, And Set-To-Stay

The finish ties everything together. We’re talking juicy lips, a pinpoint highlight, and a setting step that keeps your glow intact without crossing into grease territory. It’s the difference between “cute” and “complete.”
The Final Touches
- Lips: Choose one—tinted balm, comfort matte, or gloss. Match to your natural lip color and go one shade deeper for the most flattering, “my-lips-but-better” vibe.
- Micro-highlight: Use a tiny amount of liquid or cream on the tops of cheekbones, cupid’s bow, and inner corners. Skip the disco ball—think sheen, not sparkle.
- Set-to-stay: Mist with a hydrating setting spray for glow or a soft-matte spray for longevity. Or press a whisper of translucent powder on the T-zone only.
Fear shine? Blot papers beat layering powder on powder. If you want monochrome magic, use your blush on lips too—dab, blend, done.
When To Switch It Up
- Office/Daytime: Tinted balm, soft highlight, hydrating spray.
- Date/Evening: Slightly deeper lip, extra tightline, a smidge more highlighter.
- Heat/Humidity: Powder T-zone, tubing mascara, and a mattifying setting spray.
Benefit: A clean, cohesive finish keeps the look elevated and camera-ready without overthinking it.
Quick Product Checklist (Use What You Have)
- Gentle cleanser or micellar water
- Hydrating serum + lightweight moisturizer
- SPF 30+ that layers well
- Skin tint or light foundation
- Concealer for targeted areas
- Cream bronzer/contour
- Cream/blush multi-stick
- Brow gel + skinny pencil (optional)
- Cream shadow stick
- Waterproof pencil for tightlining
- Eyelash curler + mascara (tubing if you smudge)
- Tinted balm or gloss
- Highlighter (cream/liquid)
- Translucent powder + setting spray (choose one or both as needed)
Timing Cheat Sheet
- Prep: 1–2 minutes
- Base: 2 minutes
- Color (bronzer/blush/brows): 2–3 minutes
- Eyes: 2 minutes
- Finish: 1 minute
Total: About 8–10 minutes. Fast enough for weekday mornings, polished enough for last-minute Zooms.
Customizations For Skin Types
- Oily: Gel moisturizer, mattifying SPF, thin layers, set T-zone, tubing mascara.
- Dry: Richer moisturizer, dewy SPF, cream formulas, hydrating setting spray.
- Combo: Hydrating base + strategic powder only where you shine.
- Acne-prone: Non-comedogenic everything, spot-conceal instead of heavy base, avoid shimmer on texture.
Common Mistakes To Skip
- Too much base: Use thin layers and only where needed.
- Wrong undertone: Test along jawline in daylight, not bathroom lighting.
- Over-powdering: Press, don’t swipe, and limit to T-zone.
- Ignoring brows: Even a clear gel makes a huge difference.
Polished doesn’t need a full glam kit—just smart steps. This routine keeps your skin breathing while your features pop in the lightest, most intentional way. FYI, once you nail the flow, you can do it half-asleep and still look pulled together.
Try it tomorrow and time yourself—you’ll be shocked at how fast it clicks. Then go live your life, because your makeup already understood the assignment.