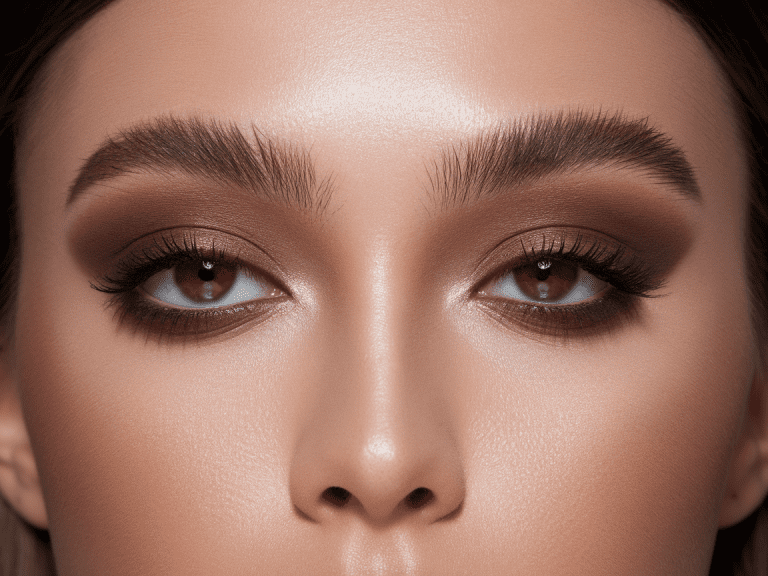
If you want a natural makeup look that feels fresh, easy, and—most importantly—doesn’t make you want to scream at your mirror, you’re in the right place. Honestly, I love natural makeup because I can trick people into thinking I “woke up like this,” even though I very much did not. Ever wondered why a natural look somehow makes you feel more confident than a full glam? Same.
So today, we’re walking through an easy natural makeup tutorial for beginners that gives you a fresh, effortless glow without requiring a makeup degree. And yes, I’ll include all the tiny tricks I wish someone told me earlier.

Why Natural Makeup Works So Well
Natural makeup hits different because it enhances your features instead of burying them. I love how it makes my face look alive—even on mornings when I behave like a zombie before coffee 🙂
The Fresh-Face Effect
Natural makeup focuses on:
- Light coverage
- Soft definition
- Healthy-looking skin
- Barely-there colors
And IMO, it feels way better than wearing a full cakey face just to buy groceries.
Step 1: Create a Fresh Base
A natural look always starts with glowing, hydrated skin. Think of it like prepping a canvas—except this one sighs dramatically when it’s tired.
Prep Your Skin (Don’t Skip This)
I prep my skin because even the best foundation slides off when I don’t. Ever tried applying makeup on dry skin? It flakes like a croissant.
Use:
- Gentle moisturizer
- Hydrating primer
- SPF (always)
Bold tip: Always apply SPF. Your skin will thank you later.
Choose a Light Base
For beginners who want a natural look, I recommend:
- Tinted moisturizer
- BB cream
- Skin tint
- Light coverage foundation
I reach for skin tints when I want that “I barely tried but still look cute” vibe. You can blend everything with a sponge, brush, or your fingers—whatever makes your soul happy.
Step 2: Conceal Strategically
Notice how I said “strategically” and not “everywhere”? You don’t want your face to look like a frosted cookie.
Where to Conceal
- Under the eyes
- Around the nose
- Blemishes
- Redness
Blend using tapping motions so everything melts into your base. I swear tapping makes a difference—like magic but with more effort.
Bold reminder: Use a little at a time so you keep the result light and natural.
Step 3: Add Natural Warmth With Cream Products
Cream products blend better and look more skin-like. Powder is fine too, but creams give that fresh, effortless, beginner-friendly glow.
Cream Blush
I love cream blush because it makes you look awake—even when you stayed up too late scrolling TikTok (FYI: guilty).
Choose shades like:
- Soft pink
- Peach
- Rosy brown
Apply on the apples of your cheeks, then blend upward for a lifted, youthful look.
Cream Bronzer or Contour
Bronzer adds warmth, while contour adds structure. If you want simple, stick with bronzer.
Apply:
- Under cheekbones
- Around forehead
- Lightly on jawline
- Possibly on the nose if you feel fancy
Bold tip: Keep the application light so the look stays soft and natural.

Step 4: Natural Brows That Still Look Like Brows
Brows frame your face—no pressure or anything. But don’t worry; a natural brow is actually super easy.
Keep Them Soft
Use:
- Brow gel
- Brow pencil (light strokes only)
- Brow powder (optional)
I love using brow gel alone when I want the quickest routine possible. It lifts the brows without screaming, “I spent 20 minutes drawing you in.”
Bold reminder: Avoid harsh lines unless you’re going for a “brows are weapons” vibe.
Step 5: Soft Eyes That Enhance, Not Overpower
Natural eye makeup focuses on adding depth without looking like you tried too hard.
Simple Eyeshadow
Stick to neutral shades:
- Taupe
- Soft brown
- Peachy beige
Apply one shade on the lid, then blend a darker shade lightly into the crease. Easy. Foolproof. Beginner-friendly.
Rhetorical moment: Who said natural eye looks must be boring?
Mascara
Mascara adds definition instantly. Curl your lashes first—it opens your eyes so much that people will ask if you slept well (even if you didn’t).
Use a mascara that provides:
- Length
- Separation
- Soft volume
Nothing too clumpy. We’re going for effortless, not spider legs.
Step 6: Natural Glow Without The Grease
There’s a fine line between “glow” and “oil spill,” and natural makeup walks that line beautifully.
Where to Highlight
Use cream or liquid highlighter on:
- Cheekbones
- Brow bone
- Inner corners of eyes
- Bridge of nose
I love liquid highlighters because they look the most skin-like. They also blend like a dream.
Bold tip: Avoid glittery formulas. Natural makeup loves subtle shine, not disco-ball energy.
Step 7: Lips That Look Soft & Simple
Natural makeup pairs perfectly with natural lips.
Your Best Beginner-Friendly Lip Options
- Tinted lip balm
- Sheer lipstick
- Gloss
- Lip oil
I reach for lip oils when my lips feel dry, and honestly, they make me feel fancy for no reason.
Choose shades like:
- Soft pink
- Mauve
- Peach
- Nude
Rhetorical question time: Who doesn’t love lips that look like your lips, but better?

Step 8: Set Everything Without Ruining It
Setting your face helps the makeup stay on all day—but choose your method wisely.
Setting Options
- Setting spray: Best for natural looks
- Translucent powder: Use lightly on T-zone
- Pressed powder: Great for touch-ups
I prefer setting spray because it melts everything together and keeps that fresh, skin-like finish.
Bold advice: Powder only where you need it to avoid looking cakey.
Extra Tips for a Truly Effortless Look
Blending Is Your BFF
Blend everything like your life depends on it. Harsh lines ruin natural looks.
Choose Creams for Extra Freshness
Creams make the entire look more natural. They sink into the skin rather than sit on top.
Less Product = More Natural
If you’re not sure whether you applied too much, you probably did. (Happens to me all the time.)
Use the Right Tools
For a natural finish:
- Sponges blend the softest
- Brushes add a bit more coverage
- Fingers warm up creams beautifully
Beginner-Friendly Product Suggestions (IMO)
I’ve tried a lot of makeup—maybe too much—and these types of products always work great for beginners.
Base
- Skin tint for sheer coverage
- Hydrating foundation for soft glow
Concealer
Look for:
- Light to medium coverage
- Hydrating formula
- Easy blendability
Blush & Bronzer
- Cream formulas
- Neutral shades
- Soft, buildable pigments
Brows
- Clear gel for simplicity
- Pencil with a tiny tip for natural hair strokes
Mascara
Choose:
- Lengthening formula
- Non-clumpy brush
Lips
- Lip oils
- Tinted balms
- Sheer lipsticks
Bold note: You don’t need expensive products to create natural makeup looks. Affordable options often work just as well.
Common Mistakes Beginners Make (And How to Avoid Them)
Applying Too Much Foundation
Use a small amount first, then build if needed.
Skipping Skincare
Your makeup won’t sit right if your skin hates you.
Using Harsh Brow Lines
Soft strokes always look more natural.
Over-blushing
A tiny bit goes a long way—trust me.
Not Blending Enough
Blend until everything looks seamless.
Final Look: Fresh, Simple, Effortless
A natural makeup look should make you feel confident, comfortable, and like the best version of yourself. You don’t need a huge routine or expensive products—you just need the right technique and a light hand.
You got this. Seriously.
And if you try this routine and end up loving your face a little more (or take 20 selfies like I do), well… mission accomplished 🙂