Ready to ditch boring nails and dive into playful, kid-friendly designs? These ideas keep tiny DIYers smiling, and the results are honestly adorable. FYI, you’ll be surprised how fast these come together and how proud little artists feel.
1. Candy-Sprinkle Pastel Nails

This is the quintessential kid-friendly look: sugary, sweet pastels with a sprinkle of confetti. It’s simple, fast, and mega satisfying to create. Seriously, you’ll want to show these off on your own nails too.
Why it works
Bright colors plus tiny texture = instant Easter magic. The sprinkle effect feels deluxe without requiring fancy tools. FYI, you can swap colors to match any mood or holiday theme.
What you’ll need
- Light pastel nail polish shades (pink, mint, baby blue, lavender)
- Clear top coat
- Small craft sprinkles or microbeads
- Thin nail brush or toothpick
How to do it: paint a solid pastel base on each nail, let dry, then dab a tiny amount of top coat and sprinkle on the confetti while it’s still tacky. Finish with a clear top coat. Easy peasy and endlessly adorable.
Benefits: quick mini-painting session, lots of color options, and a look that’s perfect for Easter baskets or photo ops.
2. Bunny Tail Polka Dots
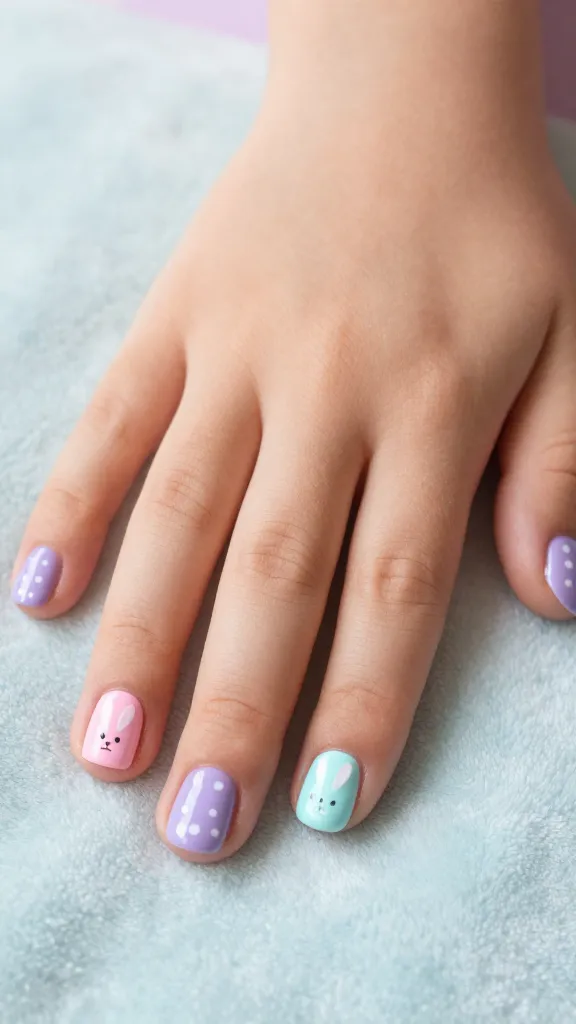
Who doesn’t love bouncy little bunny tails? This design uses simple dots to create a playful, approachable look. It’s perfect for little hands learning brush control.
Key steps
- Choose two or three colors that complement each other
- Use a dotting tool or a bobby pin for perfect circles
- Place one “bunny tail” dot on each nail, with a tiny facial detail on the accent nail if you’re feeling fancy
Tips: keep the dots small and even; you can use a translucent white to keep things soft and cute. Trust me, the result feels like a mini Easter craft. This is a great project to do with a parent nearby for help with steadiness.
Why it’s awesome: it’s minimal, charming, and quick enough to finish during nap-time glitter chaos. It’s also a fantastic introduction to freehand nail art for kids.
3. Carrot Crunch Stripes
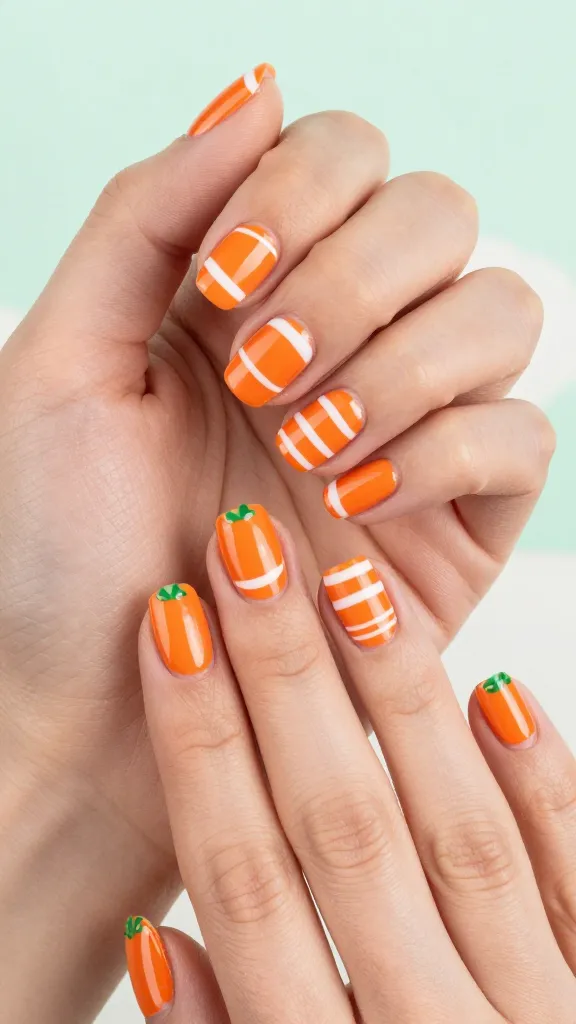
Orange is the color of spring eats and Easter eggs, so why not celebrate with carrot-inspired stripes? It’s bold, cheerful, and surprisingly simple to execute on short nails.
Materials
- Bright orange polish
- White or pale green for contrast
- Striping tape or a thin brush for clean lines
How to handle it: paint the base color (orange) and dry. Add thin white stripes along the nail using striping tape or a fine brush, then add a tiny green stem near the tip. Finish with a glossy top coat to seal everything in.
Application note: this design is forgiving for beginners—slightly imperfect lines still look adorable. It’s a great way to practice steady hand control with a fun payoff.
4. Easter Egg Mosaic Fun
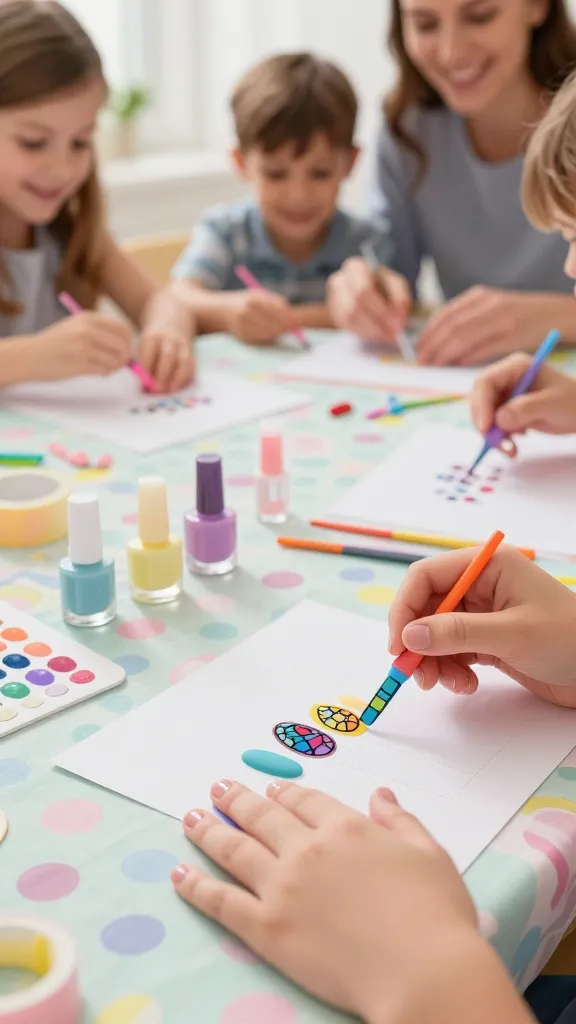
Let kids go mosaic crazy with tiny color blocks that mimic stained glass eggs. It’s artsy, colorful, and the kind of project you can do with a large group during a family craft day.
What to gather
- Assorted pastel and bright nail polishes
- Small pieces of tape or a nail art sticker grid (optional)
- Clear top coat
Process: apply a clear base, then add small rectangular dashes of color to each nail, leaving little sections to resemble mosaic tiles. You can use tape to help create clean lines, or freehand for a more whimsical look. Finish with a top coat for longevity.
Why you’ll love it: it turns nails into tiny art canvases and leaves room for kids to improvise with color placements. It also scales well to larger families or playdates—everyone gets a unique egg mosaic.
5. Milkshake Marble Easter Nails
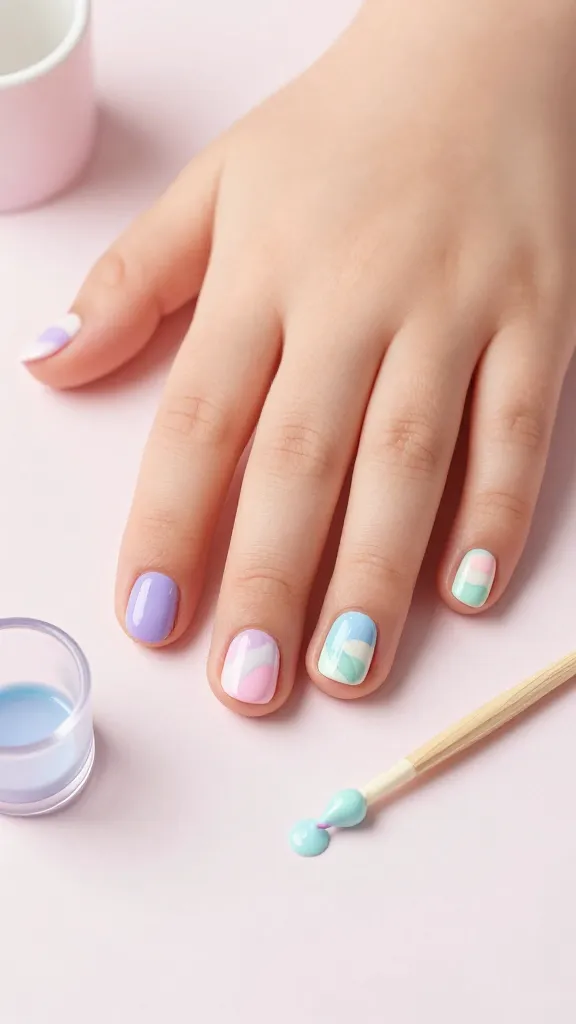
Marble nails are fancy without being intimidating. A kid-friendly milkshake twist uses soft swirls of pastel colors that look delicious enough to eat (but please don’t lick them, kiddos).
How to achieve it
- Two or three pastel polishes
- Clear base coat and top coat
- A small cup or toothpick to swirl
Technique: apply base color, then dab on a second color while the first is still wet. Use a toothpick to swirl gently in a few random patterns. Don’t over-swirl—streaks and soft marbling read as adorable. Seal with a top coat to smooth the finish.
Benefits: it looks sophisticated but remains approachable for kids. It’s the perfect indulgence for a special Easter outing or a little photo shoot.
Want more tips? FYI, you can mix and match elements from these ideas to create a personalized Easter manicure for each kid. And if someone in your crew wants to switch up the colors on the fly, that’s totally fine—creative expression should be flexible, right?
Conclusion: These five ideas keep nails fun, easy, and photo-worthy, without turning a simple craft into a full-blown event. Gather a few colors, a top coat, and a sprinkle of patience, and you’re set for a festive, kid-friendly nail session that everyone will love.