
An eye-catching look starts with a plan and a smile. Let’s dive into a bright-eyed vibe that makes you look awake without shouting for attention. This tutorial keeps things simple, friendly, and totally wearable for everyday life—and yes, you’ll still feel glam.
What You’re Aiming For: The Lifted Bright Look
You want eyes that look open, refreshed, and awake. It’s not about overdoing it; it’s about strategic placement, soft lines, and a touch of shimmer that catches the light. Ready to wake up your lids without caffeine? Let’s go.
Prep Like a Pro: Hydration, Primer, and Base
– Cleanse and moisturize your eye area so products glide on smoothly.
– Apply a lightweight eye primer to prevent creasing and to boost pigmentation. FYI, primer is your best friend here.
– Use a thin veil of concealer that matches your skin tone to cancel redness and create a blank canvas.
Shade Selection for a Bright Base
– Choose a creamy, light beige or soft peach shade as your base to brighten the lid.
– For deeper sets, pick a slightly lighter shade than your skin tone so the eyes look lifted, not hollow.
– Skip matte-only palettes if you want that glow—a touch of satin or shimmer on the inner corner can work wonders.
The Core Technique: Create the Optical Lift

The goal is to trick the eye into looking more awake. Here’s the play-by-play.
- Map your shape: Lightly sketch an invisible crease line just above your natural crease. This is your guide for soft, dimensional shading.
- Shade with intention: Use a light, neutral brown to blend just above the crease. Don’t go too dark—this is about refinement, not drama.
- Highlight strategically: Tap a pale, champagne highlight on the inner corner and under the brow bone to visually lift the eye.
- Lash line balance: Tightline with a brown or chocolate liner to define without closing the eye. You’ll thank yourself later when you blink.
Blending Rules That Save You Time
– Use a fluffy brush and blend in small circular motions. If you can still see harsh edges after 2 passes, you’ve blended too little, not too much.
– Build, don’t flood. Start light, add a touch more, and stop before it looks heavy.
Shimmer Without Shouting: Where to Place It
A bright look loves light-reflecting products, but you want to place them thoughtfully.
- Inner corner shimmer: A quick pop here instantly brightens the eye.
- Lid sheen: A light satin shade centered on the lid creates the illusion of space.
- Under the brow: A whisper of highlighter under the arch adds a lift without looking obvious.
What To Use If You’re New to Shimmer
– Go for cream formulas that set softly. They’re easy to blend and less likely to look chunky.
– Avoid chunky glitter near the lash line unless you’re going for a bold editorial moment.
Lashes and Brows: Frame the Look
– Curl lashes well to open the eye. If you have stubborn lashes, apply a light coat of mascara, wait 15 seconds, then add a second coat for lift.
– Tightline with a soft brown liner to extend the lash line without a harsh edge.
– Groom brows to maintain an airy frame. Don’t overfill; aim for natural fullness that follows your brow shape.
Alternative: A Lash Lift Vibe Without the Salon
– Use a clear brow gel to sweep upward on both lashes and brows for a cohesive lifted appearance.
– If you want drama, apply a thin line of mascara on top lashes only, keeping the bottom lashes more natural.
Color Play: Daytime to Date Night Transitions
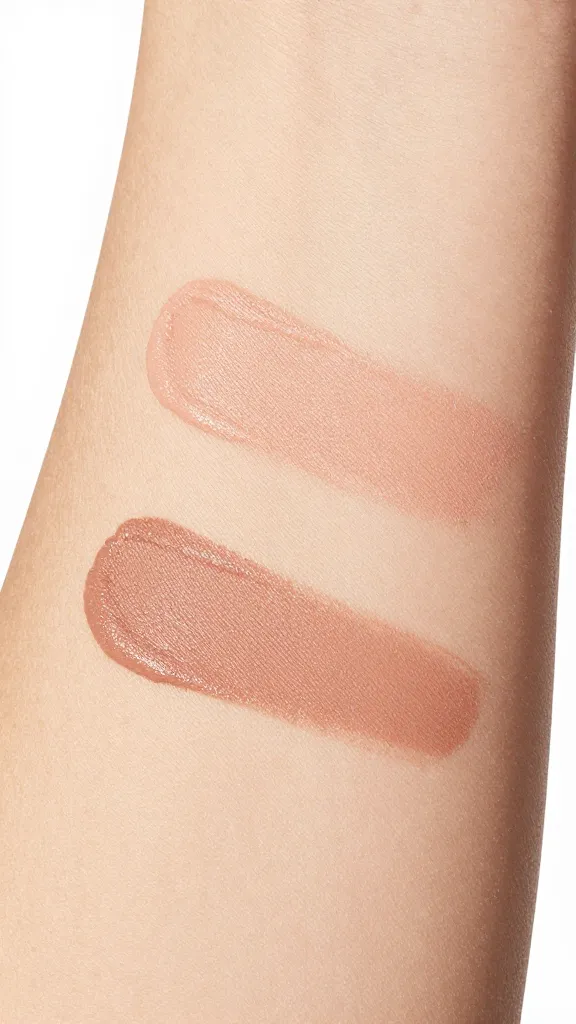
– For daytime, stick to neutrals and soft pinks or peachy tones. It feels fresh and approachable.
– For evening, deepen the outer corner slightly with a taupe or cappuccino shade and amp up the inner corner highlight for a brighter contrast.
Quick Swap: From Work to Wow
– Swap your light base for a slightly warmer tone and add a touch more shimmer on the center lid.
– Tightline with a darker brown and finish with one more coat on the upper lashes.
Common Mistakes to Avoid (And How to Fix Them)
– Too-dark crease: If your crease shade shows up as a harsh line, blend it with a clean fluffy brush using soft back-and-forth motions.
– Overloaded inner corner: A heavy inner corner can make you look overwhelmed. Lighten it up by blending outward.
– Forgetting the brow bone: A visible highlight saves a flat lid and makes the look feel intentional.
FAQ: Deep Set Eyes Makeup Tutorial
Q1: Can I still use eyeshadow if my lids are deeply set?
Yes. Focus on lighter base shades that brighten, with a soft, mid-tone crease shade placed slightly above your natural crease. The key is avoiding heavy shading that makes the lid recede further.
Q2: How do I prevent powder fallout on my under-eye area?
Do your eye makeup before your foundation. Then dust off any fallout with a fluffy brush and touch up your base as needed. FYI, a quick pat of translucent powder on the under-eye area during blending can help catch fallout before it ruins your base.
Q3: Is a bold lip okay with this look?
Absolutely. A bright lip can balance a lifted eye and add a playful contrast. If your eyes are bold, lean into softer lips, and vice versa.
Q4: How long does this look typically last?
With a good primer and crease-safe shadows, you’ll be wearing this all day. Use a setting spray and blot any shine if you’re in humid weather or long events.
Q5: Can I adapt this for hooded eyes?
Yes. Create the illusion of space by focusing on a lighter base, a soft but quite defined crease above the natural fold, and a bright inner corner. Keep shimmer away from the lid’s fold to prevent transfer.
Conclusion
A lifted, bright look doesn’t have to mean a stack of products or a full glam routine. With light bases, careful shading, and a touch of shimmer placed in just the right spots, you’ll wake up your eyes in a way that feels joyful and true to you. FYI, practice makes better, not perfect. Grab your favorite neutrals, baby their texture, and get ready to look more awake than your coffee game suggests. You’ve got this.


