
Looking for a smoother vibe without the salon price tag? You’re not alone. This guide breaks down at-home laser hair removal in plain English, with practical tips you can actually use. FYI, yes, it’s possible to get lasting results from the comfort of your couch.
What You Need to Know Before You Start
Getting laser at home isn’t magic. It’s science, a bit of patience, and the right gear. Start by asking yourself: is my skin tone and hair color a good match for at-home devices? If you’re pale with dark hair, you’re in the sweet spot. If you have darker skin or very light hair, results may vary and you’ll want to pick a device specifically designed for those nuances.
- Check the device’s energy settings and safety features. A good device will have skin tone sensors and a strong cooling mechanism.
- Commit to a schedule. Consistency beats intensity—short, regular sessions win the race.
- Patch test on a small area. Always, always, always test first to avoid surprises.
Choosing the Right Device for You
There are a bunch of at-home laser options, and they’re not all the same. Some use IPL (intense pulsed light) while others are true lasers like diode or alexandrite. The difference matters for results and safety.
IPL vs. Laser: What’s the Difference?
- IPL is a broad-spectrum light. It’s versatile but often slower and less precise than true lasers.
- Laser devices target hair follicles more precisely, which often means faster, longer-lasting results.
- Both can work, but lasers tend to be better for long-term smoothness on the right skin/hair combo.
How to Prep for Your First Session
Preparation makes or breaks your results. Here’s how to set the stage for success.
- Shave the area 24 hours before treatment. No regrowth, please.
- Clean skin and remove any lotions or deodorants. We want the device to see the follicle, not barrier lotion.
- Avoid sun exposure for at least two weeks before and after treatment. Tanned skin plus laser = not ideal.
- Dry run your technique on a small patch to gauge heat and comfort.
During Your Session: What to Expect
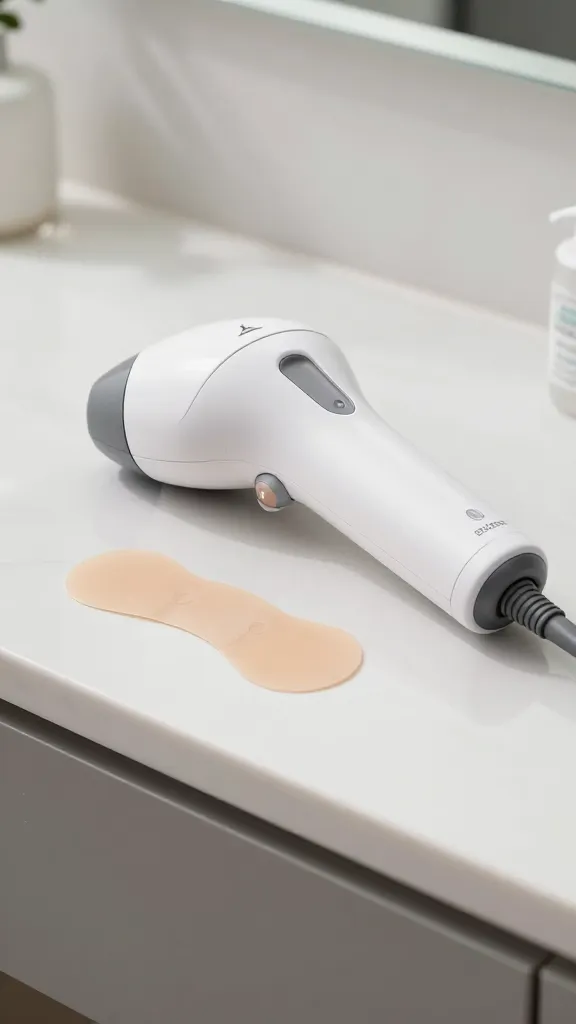
This is where the magic (aka science) happens. The sensation is often described as a warm pinch—like a rubber band snapping against your skin. It’s quick, and most people can power through a full leg or underarm session in under an hour.
Tips for Comfort and Safety
- Use the cooling feature as directed. It really helps reduce discomfort.
- Take breaks if the sensation becomes too intense. You’re in charge here.
- Don’t push the device too slowly or too quickly. Follow the included pattern for even coverage.
Post-Treatment Care and What to Expect Next
Aftercare matters just as much as the treatment itself. Proper follow-up can extend results and keep your skin calm.
- Apply a gentle moisturizer or aloe if your skin feels warm or slightly irritated.
- Avoid hot showers for 24 hours and skip heavy friction on treated areas.
- Use sunscreen religiously. UV exposure can counteract progress and irritate healing skin.
How Long Until You See Real Results?
Patience is your friend here. Most people start noticing fewer regrowth after 4–6 weeks, with improvements continuing over several months. The exact timeline depends on your hair growth cycle and how consistently you treat the area.
Managing Expectations
Not every hair will respond the same way. You’ll likely need a handful of sessions to cover all growth phases. If you see slow progress, don’t panic—some follicles take longer to reach the growth phase where laser can work best.
Common Roadblocks and How to Beat Them
Here are missteps people make and how to fix them without drama.
- Going too fast: Rushing can miss follicles and waste money. Slow and steady wins the race.
- Skipping patches: Don’t skip the underarms because they’re annoying. They’re a hotspot for great results with the right setting.
- Overdoing it after a sunless tan: If you’re tan, wait until it fades or choose a device tuned for higher skin tones.
Cost, Maintenance, and Value
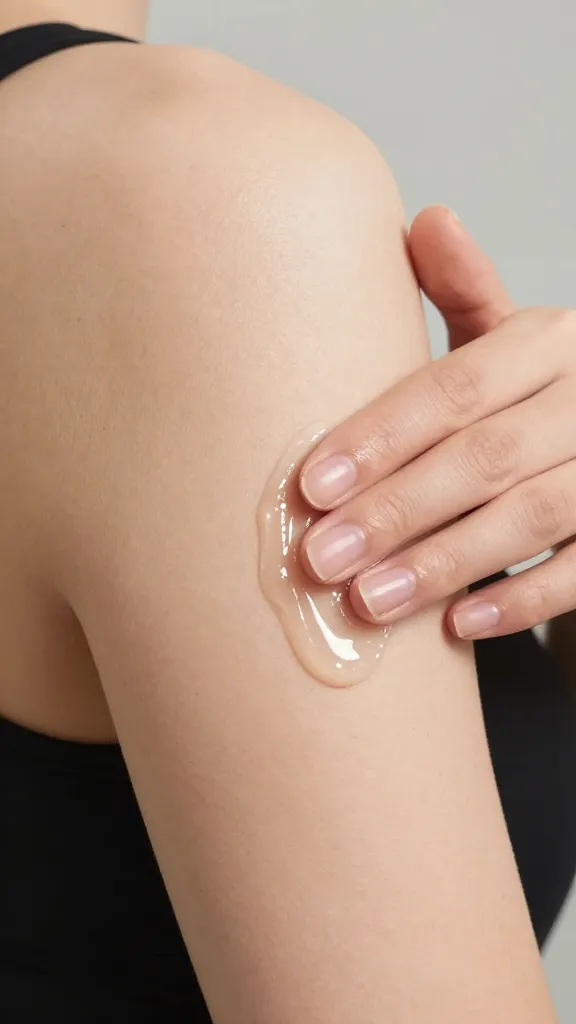
Investing in at-home laser saves money over time, but it’s not a one-time buy. You’ll purchase the device once and then small replacement parts or cartridges over time. Compare that to ongoing salon sessions that can add up fast.
– Typical upfront cost range varies by device features and brand.
– Savings come from fewer salon visits and longer-lasting results.
– Regular maintenance and proper storage extend device life.
Safety First: DIY Laser Smarts
You’re playing with light energy, not a toy. Respect the device and your skin.
- Read the manual. You’ll thank yourself later when the device behaves and you know how to adjust settings safely.
- Never treat damaged skin or active infections. Wait until you’re healed.
- Use courtesy safety features: eye protection if required, skin tone sensors, and cooling mechanisms.
When to See a Pro Again
If you have very dark skin, very light hair, or skin conditions like eczema or active wounds, check with a dermatologist before you begin. Some players benefit more from professional treatment or alternative methods. IMO, knowing when to hand it off to a pro saves time and avoids irritation.
FAQ
Is at-home laser really as effective as salon treatments?
Short answer: not always, but it can be remarkably close for many people. You’ll likely need more sessions at home to achieve similar results as a high-end clinic. The upside: lower cost per session and you set the pace.
How many sessions do I need for lasting smooth skin?
Most people start seeing meaningful results after 4–6 sessions, with continued improvement over the next several months. Your personal timeline depends on hair type, growth cycles, and maintenance.
Can I use at-home laser on all body areas?
Most devices are designed for large areas (legs, arms) and narrower zones (bikini, upper lip). Always read the device’s guidelines for the safest coverage and avoid sensitive regions unless the manual says it’s approved.
What should I do if I get a reaction?
If you notice persistent redness, swelling, or blistering, stop using the device and cool the area. If symptoms persist, consult a dermatologist. FYI, a gentle soothing cream can help, but don’t apply strong actives right after treatment.
How should I store my device to prolong life?
Keep it in a cool, dry place away from direct sunlight. Regularly clean the treatment window as directed and replace any consumables per the manufacturer’s schedule.
Conclusion
You’ve got the plan, the gear, and a little grit. At-home laser hair removal can deliver long-lasting smoothness without the salon chaos or the wallet shock. Stay consistent, protect your skin, and keep the humor handy—this ride is a marathon, not a sprint. Ready to glow in your own living room? Let’s do this.


