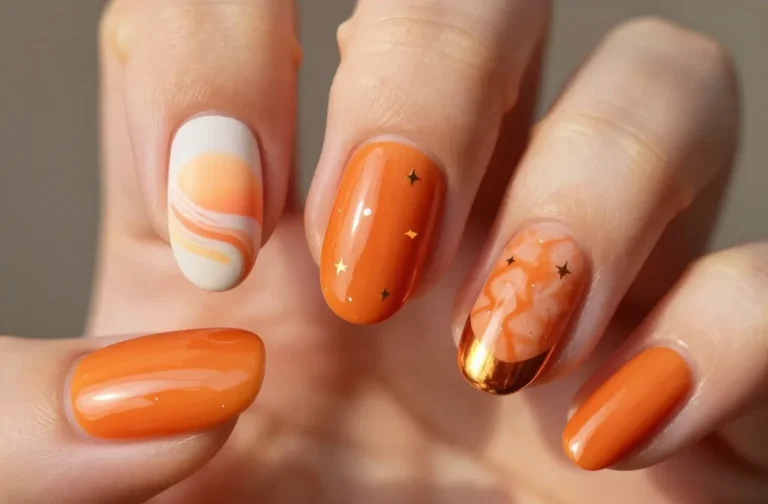
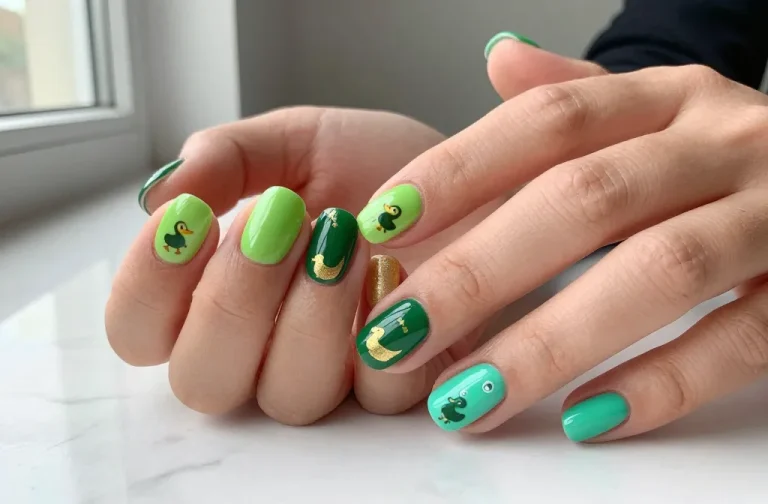
These designs are playful, chic, and totally doable at home or at the salon. Ready to level up your manicure game without spending a fortune? Let’s dive into nine looks that shine, sparkle, and scream personality.
1. Classic Matte Squares with a Shock of Shine

Matte nails are inherently chic, and pairing them with a single glossy square creates a modern twist. The contrast is subtle, but the impact is huge.
What makes it awesome? It’s sophisticated, low maintenance, and incredibly versatile for work or weekend vibes. FYI, a tiny glossy accent on one nail looks expensive without trying too hard.
Key Points:
- Matte base in your favorite neutral
- One glossy square accent nail
- Top coat that seals matte finish without gloss creep
Pro tips: Use a long-lasting matte top coat and avoid oils on the day you apply for crisp edges. Trust me, the payoff is worth the tiny extra effort.
2. Geometric Black and White Pop

Geometric patterns are eternal, and black-and-white never goes out of style. Square shapes framed in bold lines create an eye-catching, graphic manicure.
Why you’ll love it? It looks designer-y without the designer price tag. It also photographs well—hello, Instagram picks.
Tips:
- Choose one or two nails for the main design
- Keep lines clean with a striping brush or nail tape
- Finish with a high-gloss top coat for sharp edges
When to wear: pair with a sleek blazer or a casual tee—either way, you’ll look put-together.
3. Pastel Ombre Squares

Soft transition colors in square shapes feel fresh and airy. Ombre nails blend like a dream and stay on-trend year after year.
Why it’s amazing: it’s delicate yet striking, perfect for spring and summer, and easy to customize with your favorite pastel palette.
Process Outline:
- Gradient technique with a makeup sponge or a brush blend
- Two to three pastel shades mesh together
- Seal with a sheer glossy top coat to avoid color bleed
Tip: Start with a nude base to help the pastels pop more vividly. You’ll thank yourself later for the extra depth.
4. Glitter Edge Squares
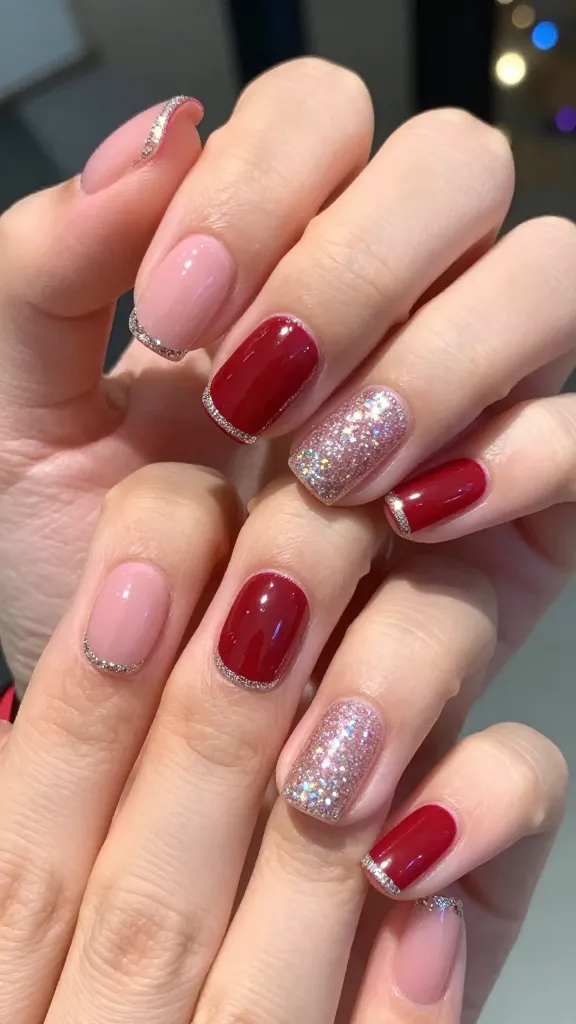
Glitter is a universal mood booster. A glittery edge on each square nail instantly elevates the design from casual to party-ready.
Why it works: it catches light from every angle, so your nails look alive in photos and real life alike. Seriously, it’s jewelry for your fingertips.
What to Do:
- Base a solid color you love
- Paint a thin glitter border along the free edge
- Top with a thick glossy top coat to lock shimmer in
Best timing: add these for a night out or when you want a little extra sparkle at a weekend brunch.
5. Negative Space Minimalist Squares

Less is more with negative space designs. Leaving a portion of the nail bare creates a modern, airy look that’s unexpectedly chic.
Why you’ll love it: chic, Instagram-worthy, and surprisingly easy to pull off with the right tools and steady hands.
Secrecy of Style:
- Thin tape to carve clean negative spaces
- Two contrasting colors for pop
- Gentle top coat to prevent peeling around edges
When to wear: date night, presentations, or any time you want a minimalist vibe that still says, “I planned this.”
6. Floral Accent Squares

A single floral accent on a classic square is feminine without being fussy. It’s a timeless touch that remains fresh year after year.
Why it’s awesome: it pairs beautifully with florals in your outfit and adds a soft pop to your look.
How to Create:
- Base: soft cream or pale blush
- Accent nail: tiny hand-painted flower or decal
- Finish with a satin or glossy top coat depending on vibe
Tip: micro-painting is easier than you think—practice on a nail wheel first, then try a pattern on your actual nails.
7. Neon Pop with Black Outlines
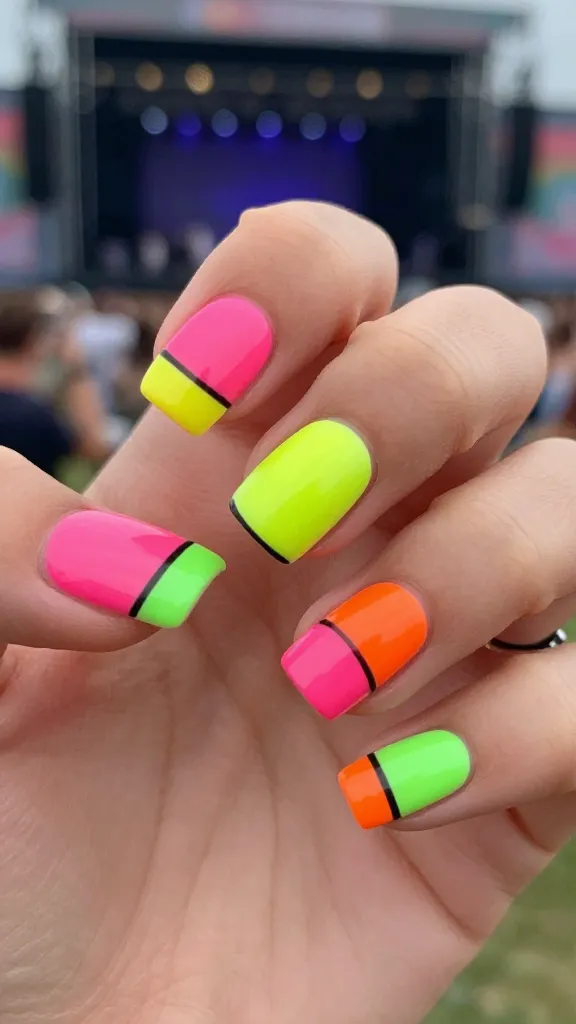
Neon brights against black outlines scream energy and confidence. It’s playful, bold, and undeniably fun for a night out or a concert.
Why you’ll want it: it’s the easiest way to make a statement with minimal design fuss—just a couple of neon squares and crisp black borders.
Elements to Include:
- Neon shades (pink, yellow, lime, or orange)
- Thin black lines around each square for impact
- Clear top coat to preserve the neon glow
When to use: summer festivals, beach days, or anytime you want your nails to shout “fun.”
8. Marbleized Square Nails

Marble textures translate beautifully into nails, giving you an artsy, high-end look without the pricey salon vibe.
What makes it special: the organic swirl patterns are unique on each nail, so no two manis are exactly the same.
How to Achieve:
- Swirl light and dark shades with a small brush
- Drop white into the mix for classic marble veins
- Seal with a clear top coat for shine and longevity
Use-case: great for date nights, gallery openings, or any time you want a luxe vibe at home.
9. Holographic Squares for Kaleidoscopic Shine

Holographic powders or shards turn nails into tiny prisms. This design catches every color in the light and looks futuristic and fun.
Why it’s a must-try: it’s dramatic yet relatively easy with the right top coat and application technique. FYI, holo is addictive—you’ll want to do it every few weeks.
Quick Setup:
- Base color that compliments the holo pigment
- Apply holo powder or foils in square shapes
- Seal with a thick top coat to avoid shedding
Best for: parties, club nights, or whenever you want your manicure to feel like a glam accessory.
So which design gets you buzzing the most? Grab your favorite shades, muse a little, and start painting. These looks are simple enough to DIY, but chic enough to feel designer-level with minimal effort. Trust me, your nails will thank you—your friends might even beg for tutorials.
Go ahead and try one or mix a couple across all ten fingers for a fearless, fashion-forward statement. You’ve got this, and your nails are about to become the new conversation starter.