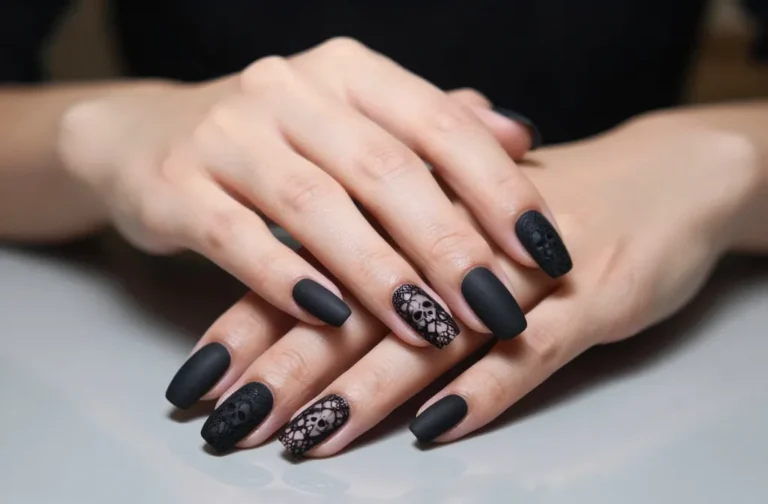
Ready to give the bridal party a mani that slays on the group chat? These eight nail ideas are easy, playful, and totally Instagram-worthy. FYI, you’ll thank yourself when everyone asks where you got them done.
1. Candy Coated Pastels: Soft Hues with a Pop

Pastels never go out of style, and they look instantly chic on bridesmaids who want something sweet without shouting. These candy-coated shades keep the vibe light and festive.
What makes it awesome? The subtle colors let the bridesmaids stand out in photos while still feeling cohesive with the wedding palette.
Key Elements:
- Soft lavender, baby pink, mint, or sky blue
- Glossy top coat for a fresh finish
- One accent nail per hand (optional)
Tip: Use a sheer base with a touch of white to keep the colors airy. Seriously, they look like bubblegum magic on short to medium nails.
2. Minimalist Metallics: Tiny Accents, Big Impact
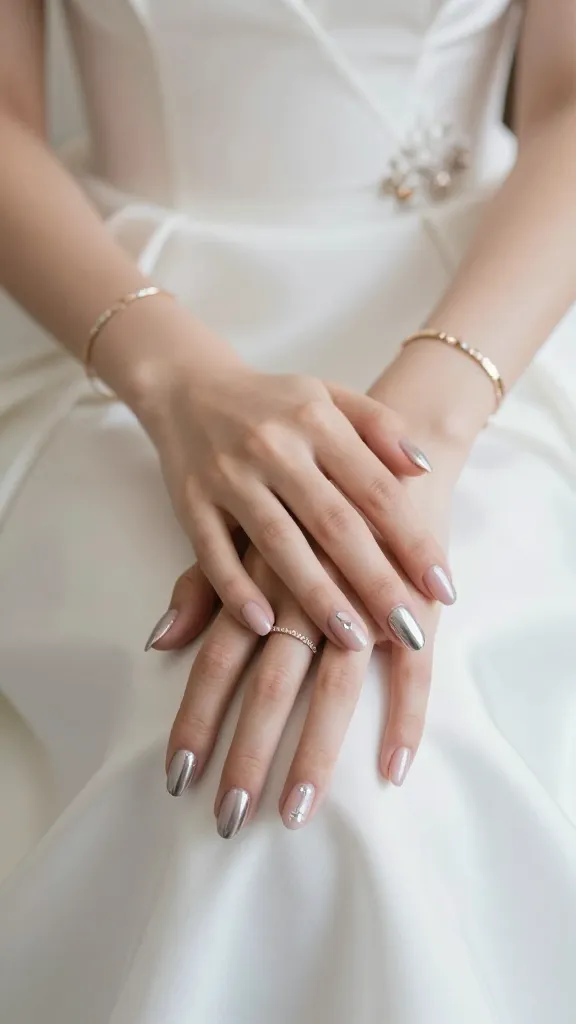
Metallics don’t have to scream glam—these are refined enough for bridal parties who want a little glam without stealing the show from the bride. Think micro-thin stripes or a solo foil dot.
Why this rocks: It adds a hint of luxury, catches the light in photos, and matches silver or gold jewelry beautifully.
Tips & Tricks:
- Use chrome or foil polish for precision
- Keep one nail per hand as a metallic accent
- Pair with a sheer pink or nude base
Bonus: It’s easy to DIY, and you can tweak the amount of shine to suit your crew’s vibe.
3. Modern French, Reimagined: Slim Lines or Color Blocking

French nails get an upgrade when you swap the thick white tip for slim lines or a bold color block at the tip. It’s classy with a wink.
Why you’ll love it: It’s timeless, flattering on most nail shapes, and photographs beautifully in natural light.
What to Try:
- Thin white lines at the tips
- Colored tips in a wedding palette
- Accent nail with a tiny charm or dot
Use a steady hand or nail guide to keep lines crisp. Trust me, the photos will thank you later.
4. Confetti Glitter: Subtle Sparkle for the Party Vibe
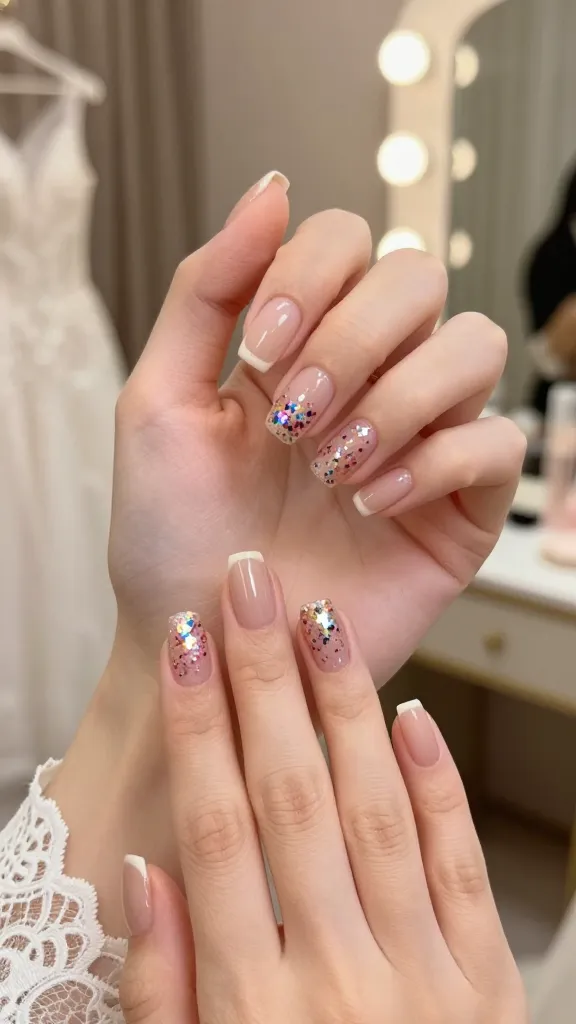
Confetti glitter nails scream celebration without going full disco ball. A light sprinkle on a clear or nude base looks festive and fun.
What makes it great: Glitter catches the light in photos, adds texture, and still reads polished rather than party-ready.
How to Build It:
- Apply a sheer base, then sprinkle or place tiny glitter pieces
- Seal with a thick gloss top coat for longevity
- Limit glitter to one accent nail per hand if you want restraint
Tip: Use a small brush to place glitter pieces precisely. IMO, precision beats random sparkle every time.
5. Marble Madness: Soft Swirls for a Luxe Look
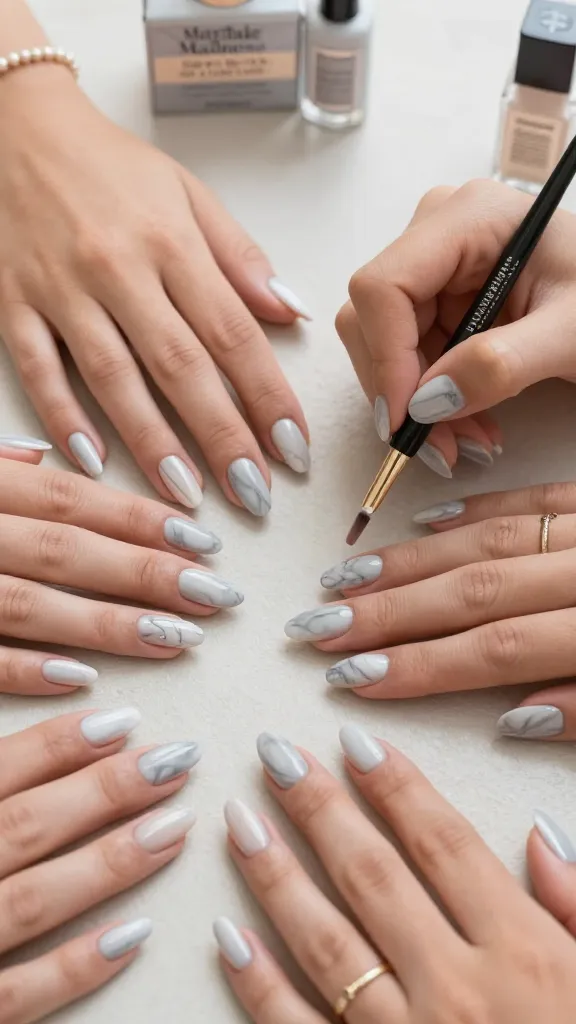
Marble nails feel luxe and artsy without trying too hard. This design works on all nail lengths and shapes and pairs nicely with marble-adjacent accessories.
Why it’s a win: It’s visually interesting but not loud, so it won’t compete with the bride’s look in photos.
Material & Method:
- Base coat in pale gray or nude
- White and darker gray swirls using a thin brush
- Finish with a matte top coat for a chic twist
Application note: Keep the swirl strokes loose for a natural marble effect. FYI, this looks gorgeous on almond and coffin nails alike.
6. Romance in Rosé: Sheer Pink with Pearl Accents
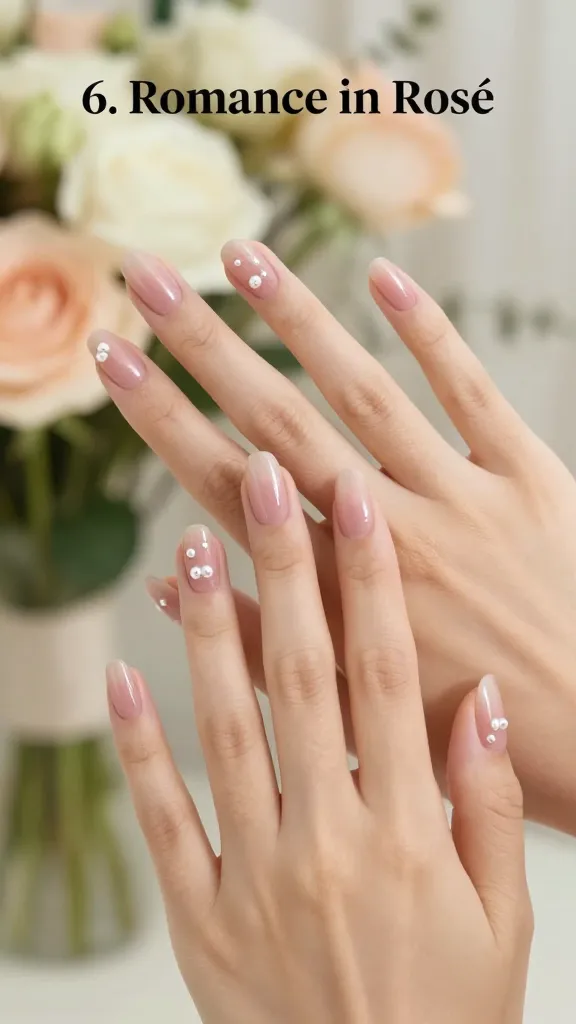
Rosé tones with pearl details feel romantic and bridal-friendly without being obvious. It’s a graceful choice for bridesmaids who want elegance with a wink.
Why this nails it: Soft pinks read airy and cohesive with most wedding palettes, while pearls add a touch of sophistication.
Ideas to try:
- Sheer pink base with three tiny pearl dots on each ring finger
- Single pearl on the tip of one nail per hand
- Mix with a clear or nude base for balance
Tip: Pearl decals are easier than striping many tiny pearls by hand. Seriously, it saves time and nerves on a busy wedding day.
7. Negative Space Nods: Smart, Sleek, and Trendy
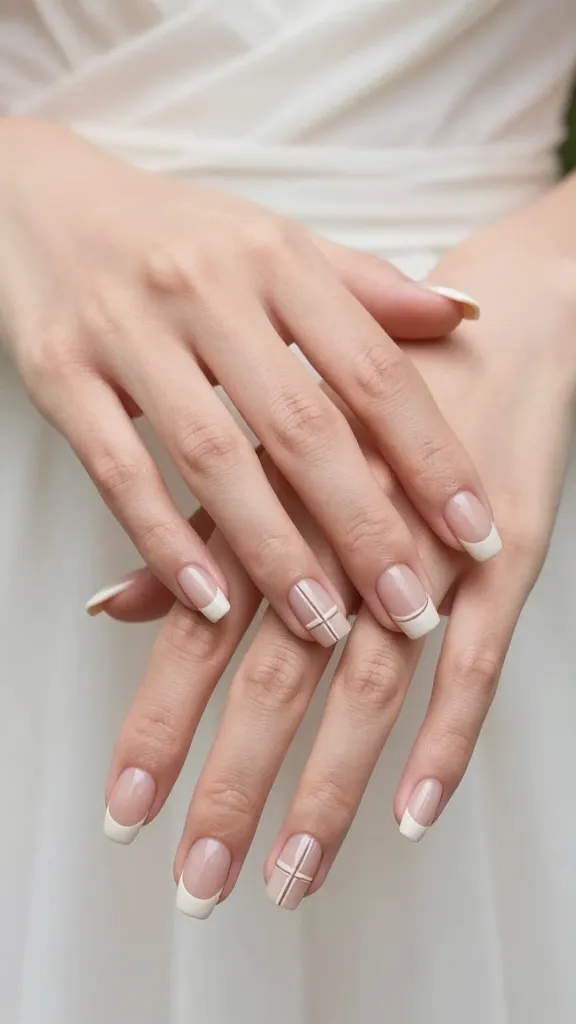
Negative space nails are edgy without being over the top. Use the natural nail as part of the design and let the space do the talking.
Why it shines: It looks current and chic, and you can tailor the negative space to each nail for a cohesive yet varied look.
Practical Guide:
- Base coat applied to the free edge, leaving part of the nail bare
- Geometric lines or small shapes created with tape or a fine brush
- Finish with a glossy top coat to highlight the negative space
Pro move: Use a nude base to maximize the contrast of the shapes. This design is perfect for photos that pop in bright light.
8. Bright Accent Party: Bold Color Block for the Lead Bride Squad

If the bridal party wants a statement, color-blocked nails in your wedding palette deliver. It’s fun, quick to execute, and totally camera-ready.
Why it’s a crowd-pleaser: It unifies the group with color while allowing each person to choose a slightly different arrangement for personality.
Structure & Suggestions:
- One or two nails per hand painted in a bright wedding color
- The rest in a neutral or matching pale shade
- Consider a glossy top coat for that glossy magazine finish
Tip: Start with a clean palette and plan the color blocks before painting. This keeps lines clean and speeds up the process—trust me, no one wants a nail-tainting delay during grooming time.
Conclusion: You’ve got eight bold, approachable ideas that fit a range of personalities and wedding vibes. Pick one or mix a few to tailor the look to your crew. Now grab a coffee, text your bridesmaids, and start booking that mani appointment—these nails are about to steal the show.