So you want luscious lashes without the salon price tag? These beginner-friendly tips keep it simple, safe, and surprisingly results-driven. FYI, you don’t need an entire toolkit—just smart moves and a little patience.
1. Nail the Prep: Clean, Dry, Ready
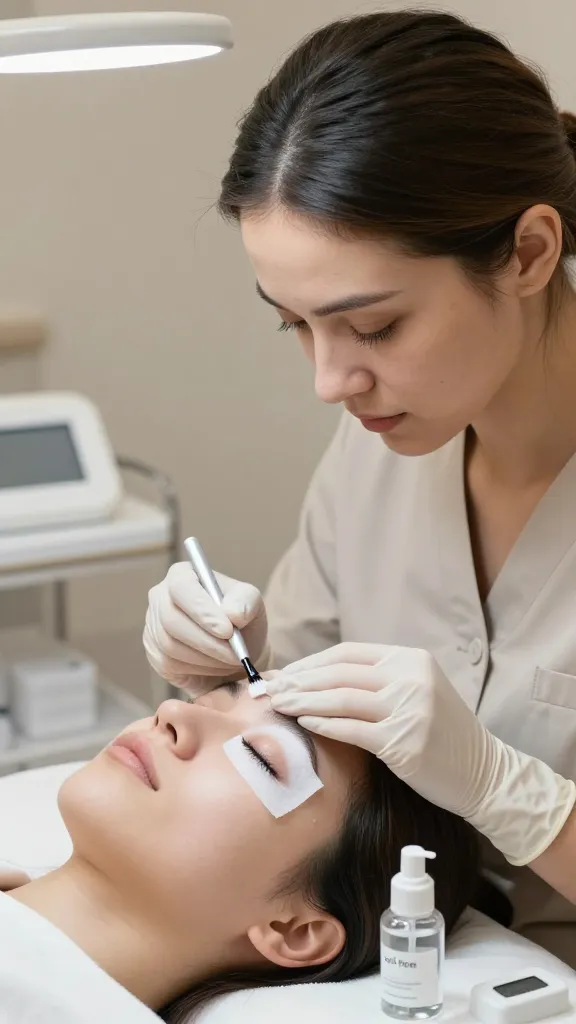
Preparation sets the stage for extensions that stay put and look clean. If you skip this step, you’ll be fighting tangles and stubborn residues all night.
Key Points
- Wash hands thoroughly to avoid transferring oils.
- Gently cleanse lashes with a mild, oil-free cleanser.
- Ensure lashes are completely dry before you start.
Why it matters: clean lashes grip better, and you’ll minimize slip-ups. Trust me, a tiny wipe can save you hours of frustration later.
2. Pick the Right Tools for Beginners

Starting with the right gear makes all the difference. You don’t need a pro-grade arsenal, but a few basics will save you countless hiccups.
What to Have
- kome-free adhesive for sensitive eyes
- Silicone lash applicator or tweezers
- Small mirrors (one for you, one for lighting)
- Non-oily lash cleanser and makeup remover
Tip: stick with shorter extensions first. It’s easier to control and gives you a natural, flattering look. IMO, bite-sized upgrades beat overwhelming experimentations.
3. Learn the Right Placement: Lash-by-Lash Technique

Placement matters more than you think. One misstep and you’ll end up with clumps, uneven arches, or lashes sticking together.
How to Do It
- Work on sections (outer, middle, inner) to avoid crowding.
- Apply one extension per natural lash for a bushy, yet natural finish.
- Leave a tiny gap at the waterline to prevent irritation.
Remember: slow and steady wins, not speed. If you rush, you’ll regret it tomorrow when you’re removing it all anyway. Seriously.
4. Don’t Overload the Adhesive: Patience Is Sexy

Glue is where most beginners go wrong. Too much glue makes lashes stiff, clumpy, and prone to shedding sooner than you’d like.
Tips for Glue Mastery
- Dip the extension lightly—less is more.
- Tap the tip to remove excess — you don’t want a glue drip situation.
- Stop midway if you smell strong fumes; take a break and ventilate.
Benefits: cleaner separation, less irritation, and lashes that actually last longer. FYI, you’ll thank yourself come week two.
5. Create a Natural Look First, Then Build

Starting with a subtle baseline helps you judge the impact without freaking out. You can always add more later, but removing excess is a pain.
Progression Plan
- Begin with 0.5 to 1 mm longer extensions than your natural lashes.
- Keep the curl close to your lash’s natural curve for a seamless blend.
- Evaluate every few lashes; if you love it, keep going—if not, stop and reassess.
Why this works: gradual enhancement feels more natural and allows you to refine technique without overshooting your goals. Trust me, the slow burn pays off.
6. Tame, Don’t Trap: Post-Application Care

You’ve done the hard part—now protect your investment. Proper aftercare dramatically boosts longevity and comfort.
Care Cheat Sheet
- Avoid oil-based products near the eyes for the first 48 hours.
- Gently cleanse with a lash-safe cleanser daily; pat dry, don’t rub.
- Brush lashes daily with a clean spoolie to keep them aligned.
- Avoid heavy mascara on extensions; if you must, use a water-based formula sparingly.
Bonus: gentle care reduces shedding and helps you keep a fuller look longer. Seriously, your future self will thank you.
7. Know When to Seek Help or Redo

As a beginner, you’ll hit moments of doubt—and that’s totally normal. Knowing when to pause or redo saves you from eye irritation and a string of dead lashes.
When to Pause
- Any burning, itching, or unusual redness persists beyond a few minutes.
- Adhesive bonding feels heavy or stiff on your lashes.
- You notice uneven lash lines that you can’t correct safely.
What to Do Next: take a day off, reassess your technique, or consider a quick tutorial. And if you’re unsure, don’t push past discomfort—safety first. IMO, a tiny setback now beats a bigger one later.
In the end, these seven moves help you master at-home eyelash extensions with confidence. With patience, the right tools, and a bit of humor, you’ll have salon-worthy lashes without the commute or the sticker shock.
Ready to try? Grab your mirror, sip your coffee, and dive in—you’ve got this. Trust me, your future self will be obsessed with how easy and affordable this was.