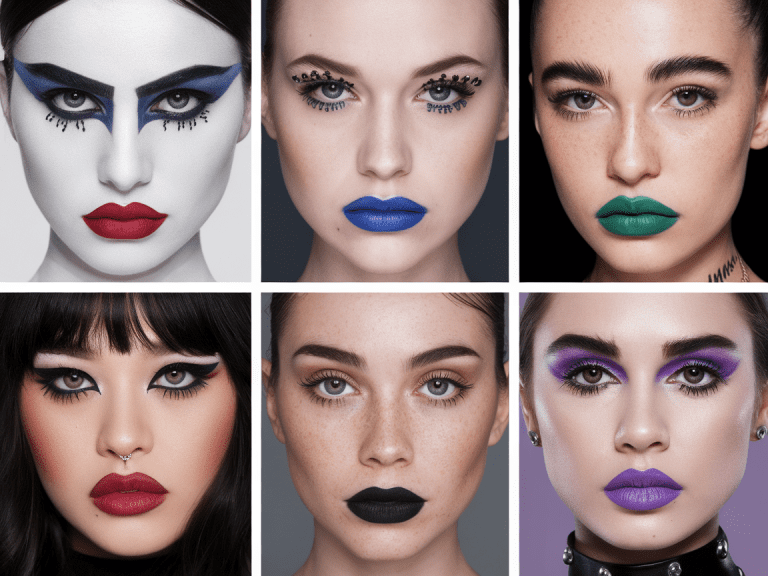
Let’s cut to the chase: makeup tricks that slim the nose are totally doable at home and feel like magic. You’ll love how quick these tips are and how natural they look in real life. FYI, confidence is the best contour—these ideas just help it shine.
1. Contour With Strategic Placement
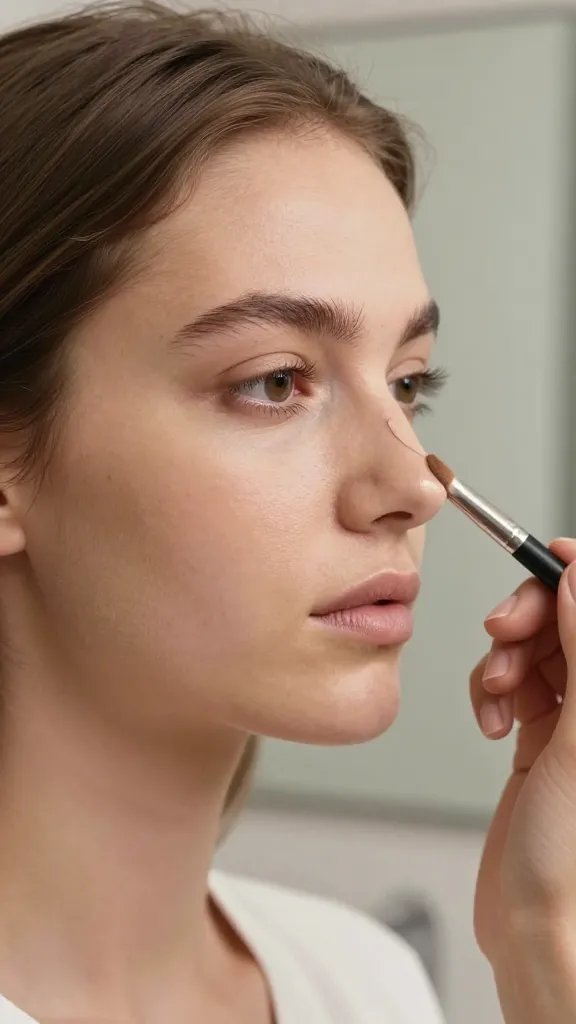
Contour is the secret sauce for nose slimming. The goal is subtle shadows that sculpt without looking muddy or heavy. Do it right, and you’ll have a natural, refined line that reads as slimmer in photos and in real life.
Key Points:
- Choose shades a shade or two darker than your foundation for the sides of the nose.
- Keep it narrow a thin line along the bridge helps create illusion without breaking balance.
- Blend, blend, blend with a soft brush or beauty sponge until edges vanish.
Practice makes perfect. Start light and build up until you love the result. Trust me, the difference shows in person and in selfies.
2. Highlight the Center to Narrow the Profile

Highlighting the center draws attention inward, making the nose appear more slender. The trick is to keep the glow focused where you want the eye to land—the bridge and tip—while keeping the rest matte.
Why it works: light catches raised areas, so a bright center shortens the perceived width. It’s almost like optical illusion makeup for your face—delightfully simple.
Quick Tips:
- Formula use a light, creamy concealer or highlighter one shade lighter than your skin.
- Placement dot down the bridge, focusing above the tip but not too close to the edges.
- Blend in small circular motions with a fingertip or sponge for a seamless finish.
The payoff: a brighter center that narrows the overall look—no dramatic changes required.
3. Blur the Edges for a Softer Silhouette

Harsh lines scream “contour heavy,” so soft edges are your best friend here. Blurring creates a natural transition that makes the nose look smoother and more refined.
Why it matters: blended edges ensure the makeup doesn’t sit on the surface and create a fake, cakey line. A little goes a long way.
How to do it:
- Use a fluffy brush to blend the sides of the contour downward and outward.
- Move in small motions rather than trying to sweep away everything at once.
- Set lightly with a translucent powder only where needed to prevent shine.
When you’re done, your nose edge should look gently softened, not sharp and obvious. FYI, a natural finish always photographs better.
4. Create Symmetry With Gentle Shading

Symmetry is secretly powerful. Gentle shading on both sides of the nose helps create a balanced, slimming effect without looking obvious.
Why symmetry matters: humans pick up on even tiny mismatches, and you’ll notice a more cohesive, refined look when both sides match.
What to do:
- Shade lightly along both sides of the bridge from the inner corner of each eye toward the nostrils.
- Stay centered avoid heavy lines that drift toward the cheeks.
- Finish with spray or powder to lock the look in place.
Pros: a harmonious, cooler-toned result that reads as intentional rather than fussy.
5. Use Concealer to Lift the Tip
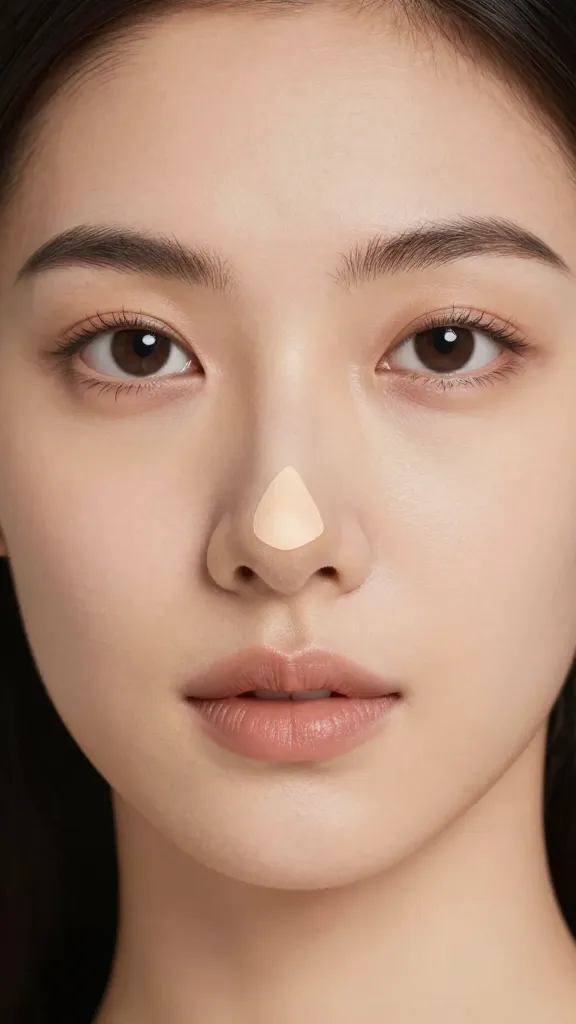
Concealer isn’t only for blemishes. A tiny dab can subtly lift the tip of the nose, giving a more elongated and slimmer appearance when paired with contour and highlight.
How to apply without looking obvious:
- Pick a shade slightly lighter than your foundation for the tip.
- Target paint a soft triangle beneath the tip, then blend upward toward the bridge.
- Set with a light dusting of powder to keep it from moving.
Result: a refined tip that doesn’t shout “I contourled my nose today,” but whispers it instead. Seriously, it’s a small tweak with big impact.
6. Seal the Look With the Right Tools

Tools make or break the effect. The best results come from clean brushes, a careful hand, and a brush-sidekick that helps you refine without overdoing it.
What to use and why:
- Soft contour brushes to create precise lines without harsh edges.
- Sponge or buffing brush for seamless blending on the bridge and sides.
- Setting powder to prevent shiny spots that blow your slimming illusion.
Final note: practice with different brushes and densities. You’ll quickly learn which tools feel magical on your skin, and your nose will thank you for the gentleness.
Want a quick recap? Contour with deliberate placement, highlight the center, blur edges, play with symmetry, lift the tip with concealer, and seal the finish with the right tools. Each step compounds for a believable, natural-looking slimmer nose. Trust me, you’ll start saving time on touchups and loving how your makeup reads in photos.
Ready to try these? Grab your favorite foundation and a few brushes, and jump in. You’ve got this—your nose has never looked so confidently chic.