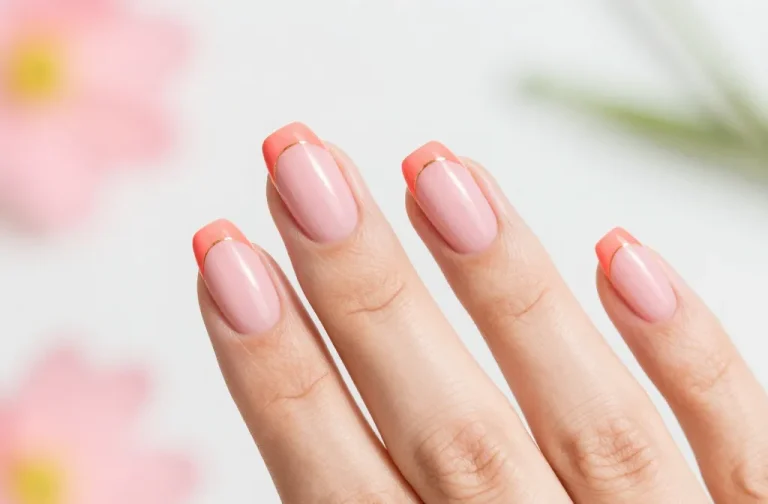
Want nails that scream holiday cheer without the fuss? These 5 designs are playful, easy to do, and totally selfie-worthy. FYI, you’ll wow your friends and still keep it comfy for school days.
1. Candy Cane Stripe Glam

Nothing says Christmas like classic red and white stripes, but we’ve got a glow-up version. This design stays cute yet edgy enough for teen vibe and photos with friends.
Why it’s awesome: It’s simple to recreate, but the contrast looks high-fashion in photos. You can switch to mint or pink for a personal twist and still keep the holiday magic.
Key Points
- Base: Crisp white or pale pink for a softer start
- Stripe color: Bold red or cherry for maximum pop
- Finish: Top coat to avoid smudges after lunch runs
Steps tip: Paint two nails as full stripes, then use a striping brush for clean lines on the rest. It feels like nail art, but it’s totally doable. Trust me, you’ll nail this in one sitting.
2. Snowflake Accent Focus

Minimal yet magical—the snowflake accent nails give you winter vibes with zero effort. A tiny snowflake stamp or freehand snowflake looks incredibly cute on a ring or middle finger while other nails stay solid.
Why it’s awesome: It’s versatile. Go bold with a glittery base or keep it matte for a chic, subtle look that’s perfect for school events or holiday parties.
Tips
- Use a white or light blue for the accents to pop
- If stamping isn’t your thing, try a tiny dot-and-line pattern to mimic snowflakes
- Seal with a glossy top coat for that fresh-day sparkle
Benefits: A single focal nail creates drama without committing to a full design on every finger. It’s really easy to remove when you’re over it.
3. Glitter Frosted Tips
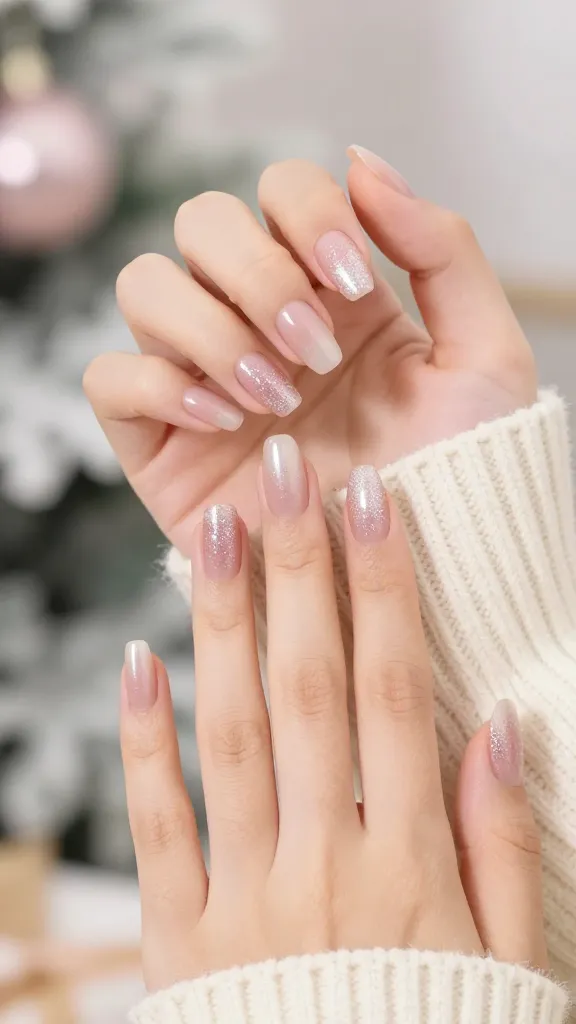
Frosted tips are like a frosty kiss for your nails. A sheer glitter gradient on the tips gives you that holiday shimmer without looking like a child’s tree ornament.
Why it’s awesome: Subtle glam meets teen-friendly. You can wear this with almost any outfit, from hoodie-and-jeans to sparkly party dresses.
Materials
- Sheer nude or pale pink base
- Fine holographic glitter polish
- Matte or gloss top coat depending on mood
Application note: Start near the tips and fade toward the center for a natural gradient. FYI, clean up any stray glitter with a quiet brush and remover pen—your sheets will thank you tomorrow.
4. Candy Jar Confetti Nails
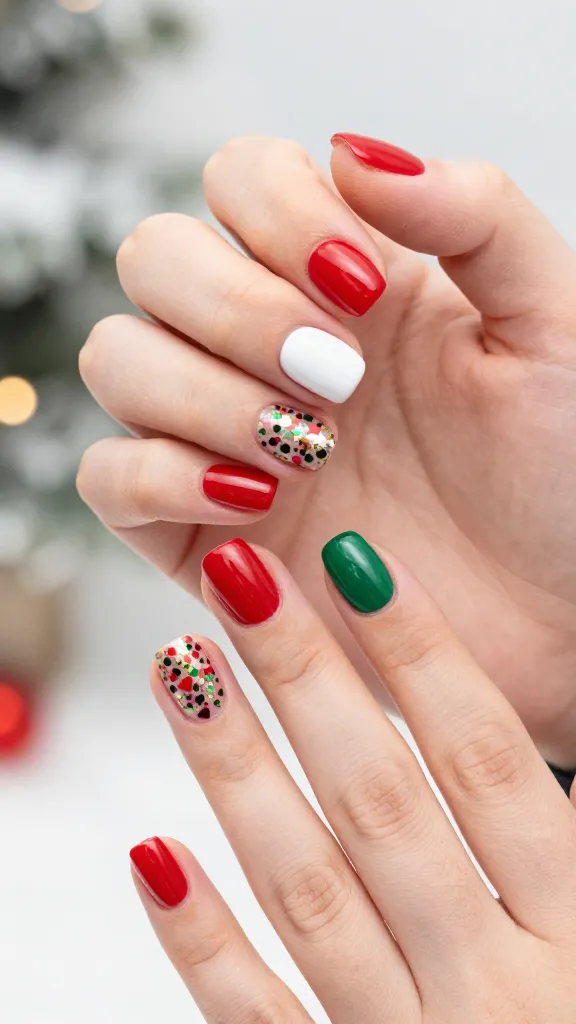
Think rainbow sprinkles on a snowy day. This playful design uses small confetti-style glitters in Christmas colors to create a party-on-a-nail effect.
Why it’s awesome: It matches school holiday decorations and looks like you carried a mini party on your fingers. It’s also surprisingly low-maintenance if you keep most nails solid and reserve one for the confetti pop.
How to Style
- Base: Solid candy-apple red, forest green, or snowy white
- Confetti: Tiny hearts, stars, or hex shapes in red, green, gold
- Finish: A thin coat of top coat to prevent glitter fallout
Tagline: Mix textures—glossy base with matte confetti accents for extra pop. This design is seriously adorable in photos and in real life.
5. Peppermint Ombre with Cozy Matte
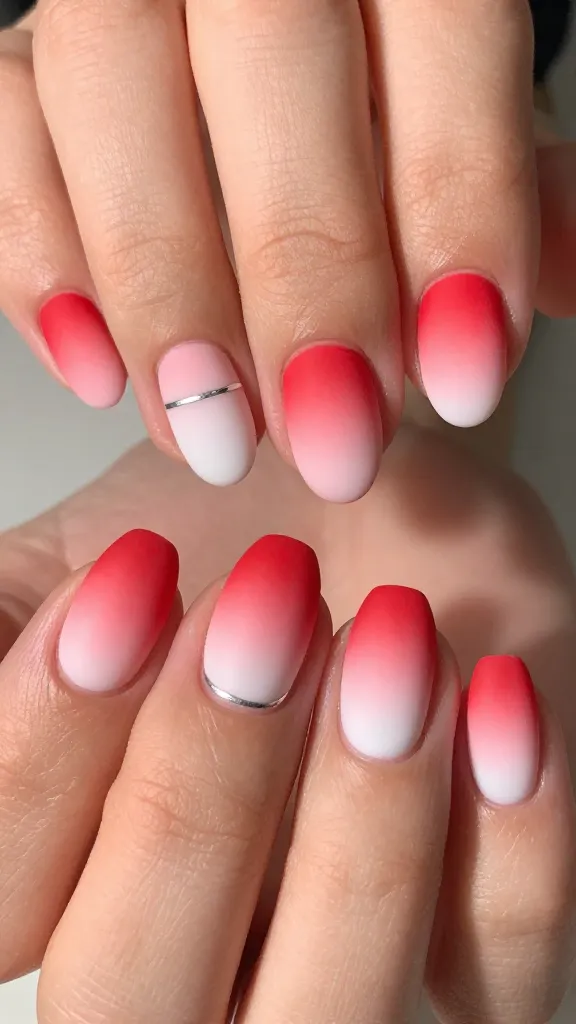
Ombre nails are already a vibe, but the peppermint version adds festive color without going overboard. A bold red-to-white gradient with a matte finish feels cozy and modern.
Why it’s awesome: It’s a statement without shouting. The matte overlay tones down the gloss, which keeps it school-appropriate and chic for evening hangouts.
Steps to Shine
- Base: White on the tip transitioning to red toward the cuticle
- Texture: Matte top coat for a soft, cozy look
- Accent: A single thin silver line or tiny snowflake on one nail is optional
Benefits: This style blends holiday spirit with a stylish, grown-up edge. It’s a great way to test gradient technique without complex art skills.
In case you’re curious, these five ideas are designed to be friendly for teens who are still mastering polish control. They blend simplicity with a dash of glam, so you get the best of both worlds. IMO, you’ll be surprised at how fast you can switch from one vibe to another depending on mood or outfit. Seriously, it’s like having a mini mood ring at your fingertips.
Want a quick checklist to keep you on track? Here are a few practical reminders:
- Prep matters: push back cuticles, buff lightly, and wipe with alcohol before painting
- Thin layers cure faster and reduce smudging—two or three light coats beat one thick one
- Don’t rush the top coat; it locks in the look and extends wear
- Use nail tape or a steady hand for clean lines on stripes or leaves
Whether you’re planning a party, a school event, or a simple photo shoot with friends, these five Christmas nails keep things fun and flexible. FYI, you can mix and match these ideas across weeks to keep your nails from getting boring.
Okay, future nail artist, you’ve got the blueprint. Try one design tonight and save the rest for the week—your selfies will thank you. Trust me, you’ll be getting compliments left and right. Let’s do this and make your nails the star of the season.