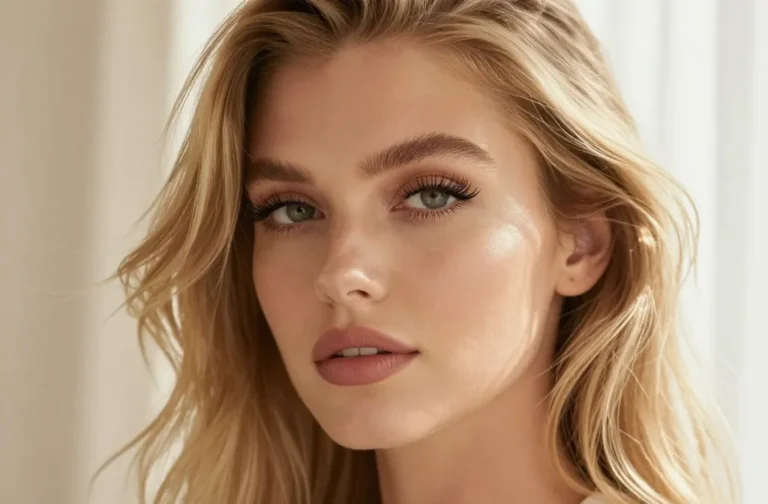
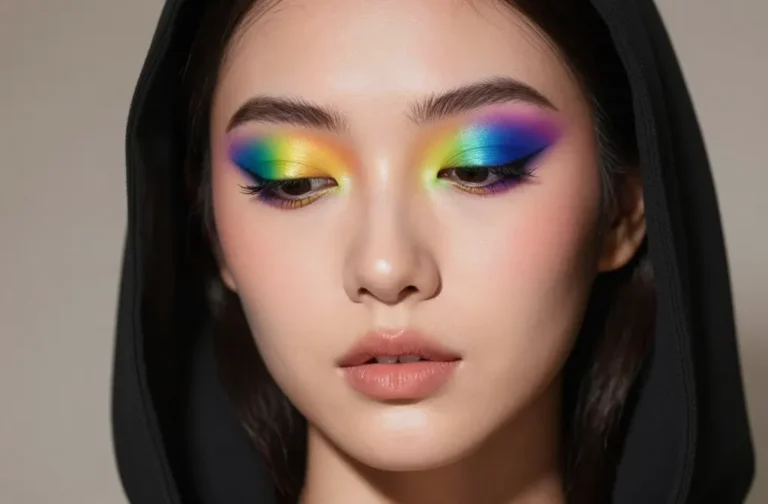
Hey, friend! If hooded eyes have been your makeup kryptonite, this is your glow-up moment. I’ll break down three simple looks you can actually nail, starting from basics and leveling up without drama. FYI, you’ll be shocked at how much range you get with just a few smart moves.
1. Luminous Lid Pop: Bright Base With Subtle Depth
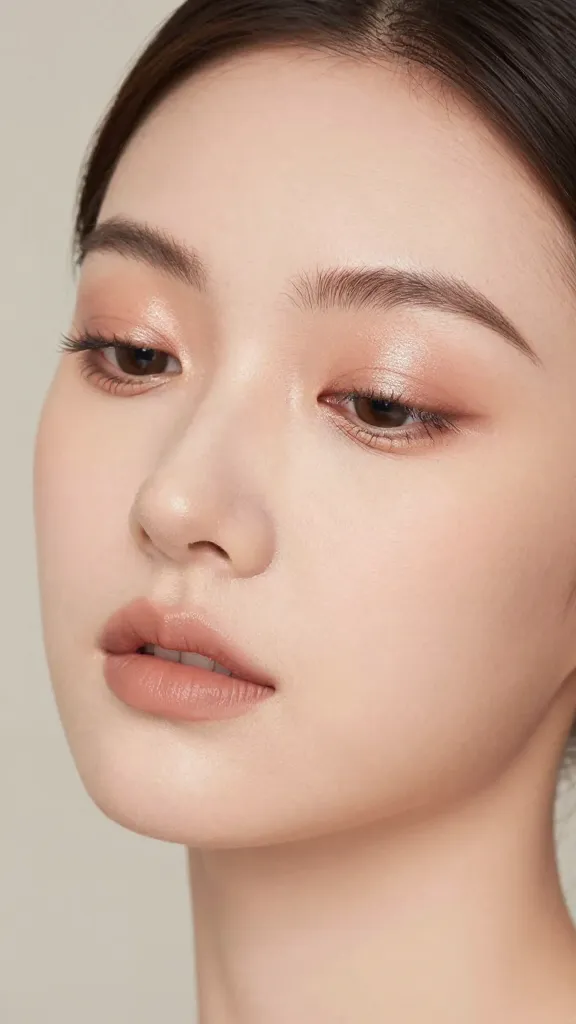
This look is all about waking up the lid space without shouting for attention. It makes hooded eyelids appear larger and brighter, which is exactly what we want when you’re starting out. Trust me, a little shimmer goes a long way.
Key Points:
- Choose a light, creamy base shade that matches your skin tone.
- Layer a soft satin or champagne shimmer on the center of the lid to catch light.
- Blend slightly above the crease to extend the eye’s apparent height.
How to do it (step by step):
- Prime your lids so nothing creases by the end of the day.
- Apply a neutral base color all over the lid with a fluffy brush.
- Pat a pearl or champagne shade onto the center of the lid for a bright focal point.
- Use a light, cool brown along the upper lash line to add subtle definition—no harsh lines here.
- Finish with a thin line of liner close to the lashes, then curl and add mascara focusing on the outer lashes.
Why it works for hooded eyes: the light center draws attention away from the lid crease, and the soft definition keeps the look airy. It’s beginner-friendly and forgiving if you’re still learning how to blend. This is a great everyday option, especially for those who want something pretty without looking done up.
2. Soft Cat Eye With a Lofty Lash Line

If you crave that eyeliner drama but don’t want the struggle of a bold wing, this gentle cat-eye approach keeps everything flattering on hooded shapes. The trick is to keep the line thin near the inner corner and slightly thicker as it travels outward, then rely on lashes for the main impact.
What makes it awesome:
- Simple, elongated lash line creates the illusion of lifted eyes.
- Minimal wing for those who fear precision work.
- Lashes become the hero, so you can skip heavy liner if you want a softer vibe.
How to execute:
- Start with a neutral primer and a brown or charcoal pencil liner.
- Draw a thin line along the upper lash line, focusing on the outer third to create a gentle wing.
- Keep the wing narrow and slightly rounded; avoid a sharp tip that can close the eye in hooded shapes.
- Smudge with a small brush for softness, then reapply mascara to top lashes only (or add falsies if you’re feeling fancy).
Practical tip: if you’re worried about symmetry, flip the angle of your brush toward the outer corner to ensure both eyes look balanced. This look scales up nicely for evenings or events—just amp up the mascara or add a thin, tightline along the inner lid for more drama. Seriously, the lashes do most of the lifting work here.
3. Matte Orbit Shadow With Delicate Depth
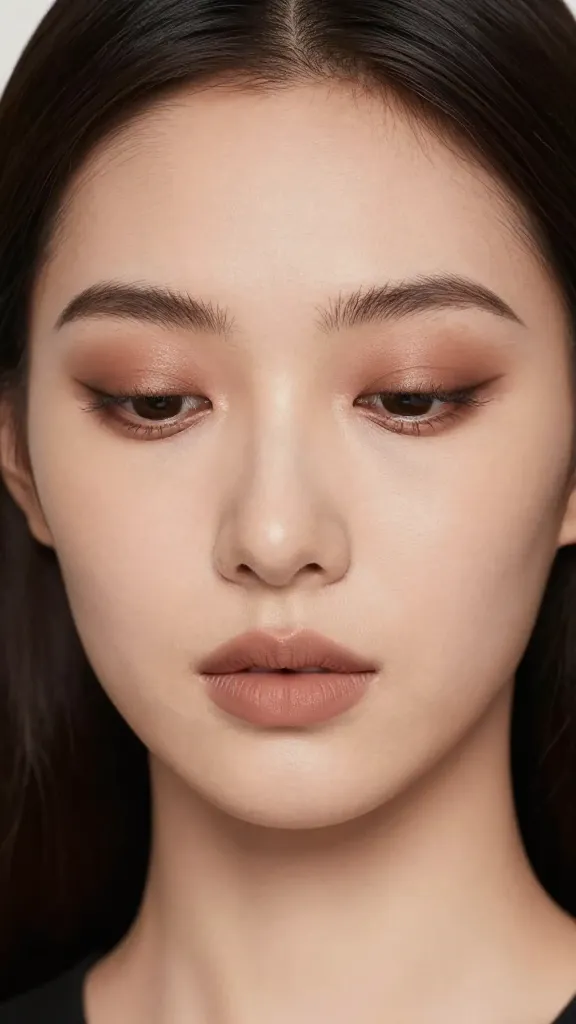
This one is a masterclass in using matte shadows to sculpt without shouting. The idea is to map a subtle depth just above the lash line and blend into a soft halo around the eye. It works great for light and medium skin tones and is one of the most forgiving techniques for beginners.
Why it’s a win:
- Matte shadows blend out beautifully, reducing the risk of visible lines.
- Creates the illusion of larger lids without needing fancy brushes.
- Pairs perfectly with a bold lip or a low-key day look.
How to do it (easy routine):
- Pick a matte taupe or soft brown for the crease and outer corner.
- Blend the shade from the outer corner toward the center, stopping where the hood begins to dip.
- Apply a lighter matte shade all over the lid to brighten, avoiding too much shimmer near the crease.
- Line the upper lash line with a soft pencil and smudge slightly for a natural border.
- Finish with two coats of mascara, concentrating on the outer lashes for a lifted effect.
Hint: keep brushes clean and use small circular motions to blend. If you’re feeling extra, add a whisper of champagne on the inner corner to brighten even more. You’ll notice your eyes look more awake, and no one will guess you’re wearing makeup on a busy day. FYI, this is my go-to when I’m short on time but still want a polished look.
Benefits and practical uses across all looks: these three techniques create the illusion of more lid space, without requiring perfect blade-like lines. They’re great for selfies, meetings, and nights out alike. The ideas scale with your comfort level, so you can keep it simple or layer on more intensity as you gain confidence.
Want a quick recap of what to remember?
- Keep lines soft and avoid heavy wedges that close the eye.
- Let lashes do the heavy lifting; a good curl and mascara make a big difference.
- Use light-reflecting or satin shades to brighten without overpowering hooded lids.
Now it’s your turn to experiment. Which look will you try first—luminous lid pop, soft cat eye, or matte orbit shadow? Trust me, your hooded eyes deserve a little spotlight, and these steps make it super doable.
Ready to start? Grab a mirror, a few neutral shades, and a comfy brush set. You’ve got this, and I’m cheering you on—one fluttery lash at a time.