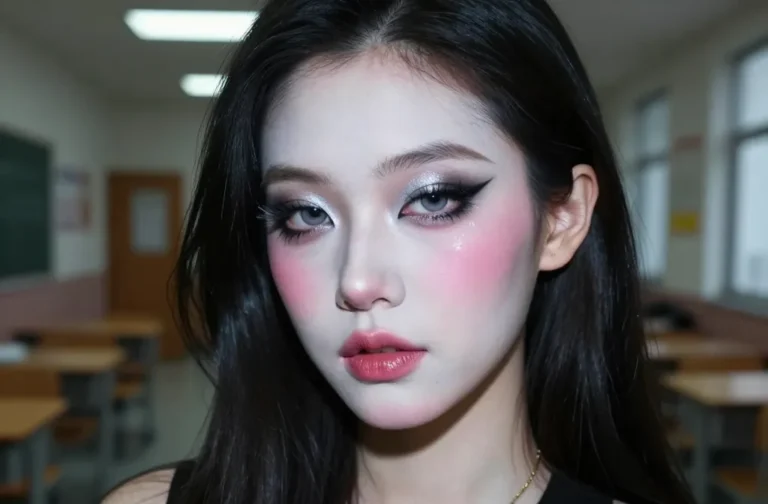
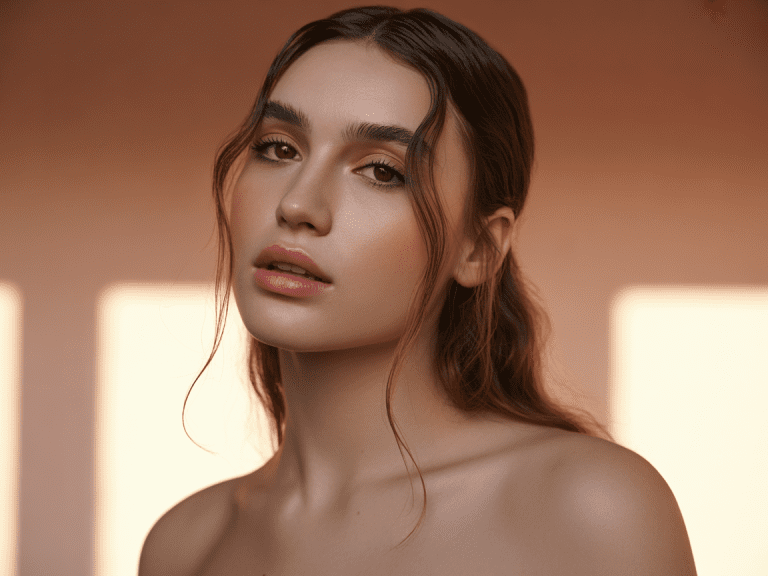
These tips aren’t just pretty faces; they’re practical hacks that translate on screen and in person. Get ready to glow from retouch-free to camera-ready in minutes. FYI, you’ll want to bookmark this.
1. Prep Like a Pro: Skincare Meets the Lens

Flawless makeup starts with skin that behaves. A smooth canvas means less caking and more shine control.
Why it works
Camera lights exaggerate texture, so prepping skin minimizes pores and uneven patches. Think hydration plus a touch of grip for makeup to cling to.
- Cleanse with a gentle formula to avoid stripping oils
- Hydrate with a lightweight moisturizer or gel-cream
- Apply a thin layer of primer focusing on T-zone shine
End result: your makeup sits evenly and photos don’t highlight every pore. Trust me, you’ll notice the difference as soon as you step in front of the camera.
2. Go Matte Where It Matters, Not Everywhere

Shine on set is a vibe killer. Matte finishes reduce glare, but you don’t want to look flat or dull.
Smart balance tips
- Use a mattifying base only on zones that get oily
- Set with a light translucent powder, focusing on the center of the face
- Choose a foundation with a natural finish if you film or photo for long shoots
End note: matte where the light hits hardest, dewiness where you want glow. It’s all about balance, baby.
3. Find Your Lighting Ally: Soft, Consistent Light

Lighting is the real MVP. Harsh lighting ages you, while gentle, even light loves your makeup.
On-camera lighting basics
- Position lights at 45 degrees to avoid flat shadows
- Use a ring light or softbox for gentle, even illumination
- Avoid backlighting that washes you out
Why it matters: steady light lets makeup read true on video and in photos, so blending errors stay invisible.
4. Color Correction That Doesn’t Read as Blender-Paste

Color correction is your backstage pass to perfect skin tones. Do it right, and cameras love you back.
Quick color rules
- Use a peach/green corrector only where needed to neutralize redness or dark circles
- Choose concealers with warm undertones near the eyes for brightness
- Blend edges well to avoid obvious halos on camera
Bottom line: correct tones first, then conceal. It keeps your under-eyes awake without looking heavy.
5. Conceal Like a Filter You Can’t See
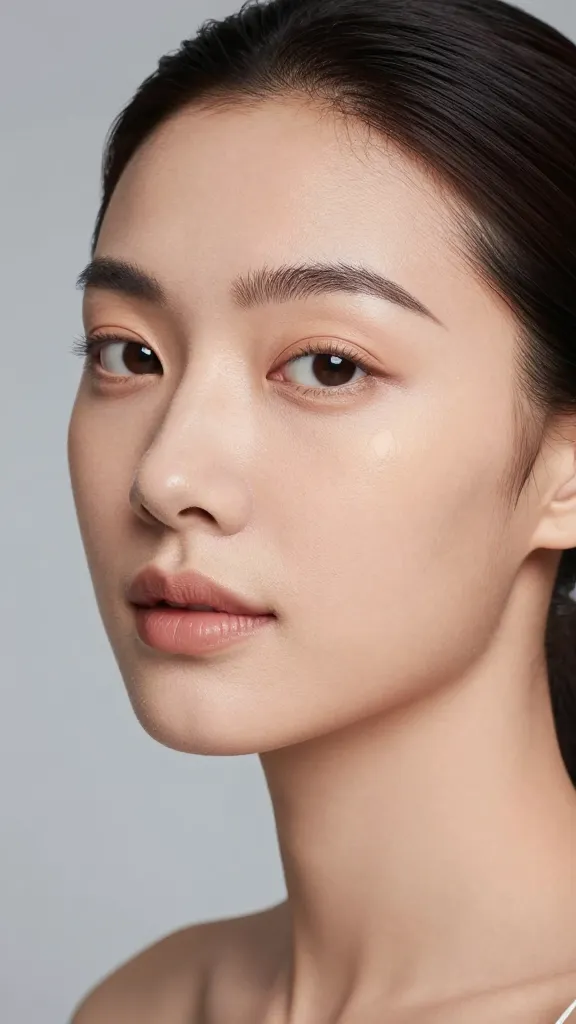
Concealer should vanish subtle flaws, not create a mask. The right placement makes you look awake and natural.
Technique tips
- Target shadows under the eyes, not directly on top of them
- Tap, don’t smear, to avoid lifting foundation
- Set with a light dusting of powder to prevent creasing on video
Pro move: go a shade lighter for under-eye brightness and blend outward for a soft edge. It’s magic you can see on camera.
6. The Great Foundation Debate: Skin-to-Shadow Ratio

Foundation that matches your neck plus skin-friendly coverage is the unsung hero of camera makeup.
Foundations that perform
- Choose a shade that disappears into your jawline
- Opt for breathable formulas if you’ll be talking or moving a lot
- Build coverage in thin layers rather than a thick one-shot application
End result: a unified, natural complexion that reads well on screen and in real life.
7. Cheek Goals: Color That Pops on Screen

Blush and bronzer keep you from looking flat, but too much can read harshly on camera.
Smart application steps
- Use cream blush for a natural glow, then set with a light powder if needed
- Dust bronzer along the hairline, temples, and jawline for dimension
- Keep color concentrated on the apples and blend upward for lift
Tip: go subtle with color at first; you can always add more if the footage needs it. On glossy videos, less is more.
8. Eye Definition Without the Shine Trap

Eyes are the star of camera work. You want definition that lasts without looking heavy or greasy.
Eye makeup cheat sheet
- Prime lids to prevent creasing and color fading
- Choose matte shadows to avoid glare on camera
- Line with a brown or navy for softer, daytime-friendly drama
End note: subtle liner plus a curl and mascara combo keeps your eyes defined yet fresh throughout shoots.
9. Lips That Stay Put (In Photos and Videos)

Lips can carry a look from “nice” to “that’s photogenic.” Choose textures that won’t bleed or fade unevenly.
Texture and shade tips
- Line lips to prevent feathering, then fill with color
- Prefer satin or matte formulas for longevity; skip ultra-glossy shades that can be overpowering
- Blot, reapply, and set with a touch of powder for staying power
FYI: a well-chosen lip shade can brighten your face and read clean on camera, even with minimal lighting.
10. Set It Like You Mean It (Without It Looking Like You Set It)

A good setting routine locks everything in while keeping texture breathable.
Setting dos and don’ts
- Use a light setting spray to meld makeup with skin
- Set with a tiny, precise spray rather than blasting your whole face
- Avoid powdery overload—dust small amounts in strategic areas only
Result: makeup that lasts through takes, tutorials, or a long brunch with friends. Seriously, it’s the difference between “okay” and “amazing.”
11. Final Flourish: Confidence Is Your Best Filter
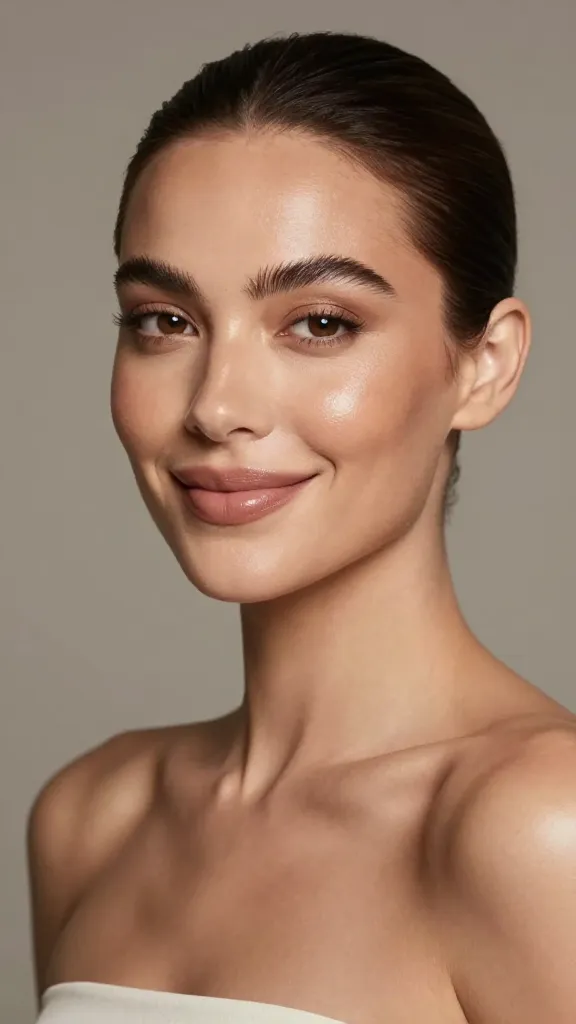
All the makeup techniques in the world won’t shine if you don’t own the moment in front of the camera.
Mindset tips
- Stand tall, breathe, and smile with your eyes as well as your lips
- Do a quick test shot or video before the actual shoot to adjust
- Remind yourself that lighting, not flaws, sets the scene
End thought: confidence amplifies every shade, line, and highlight you’ve painstakingly perfected. You’ve got this, seriously.
Ready to try these ideas? Grab your favorite products, test them in good light, and see how your photos and videos transform. You’ll be turning heads with camera-ready makeup in no time.