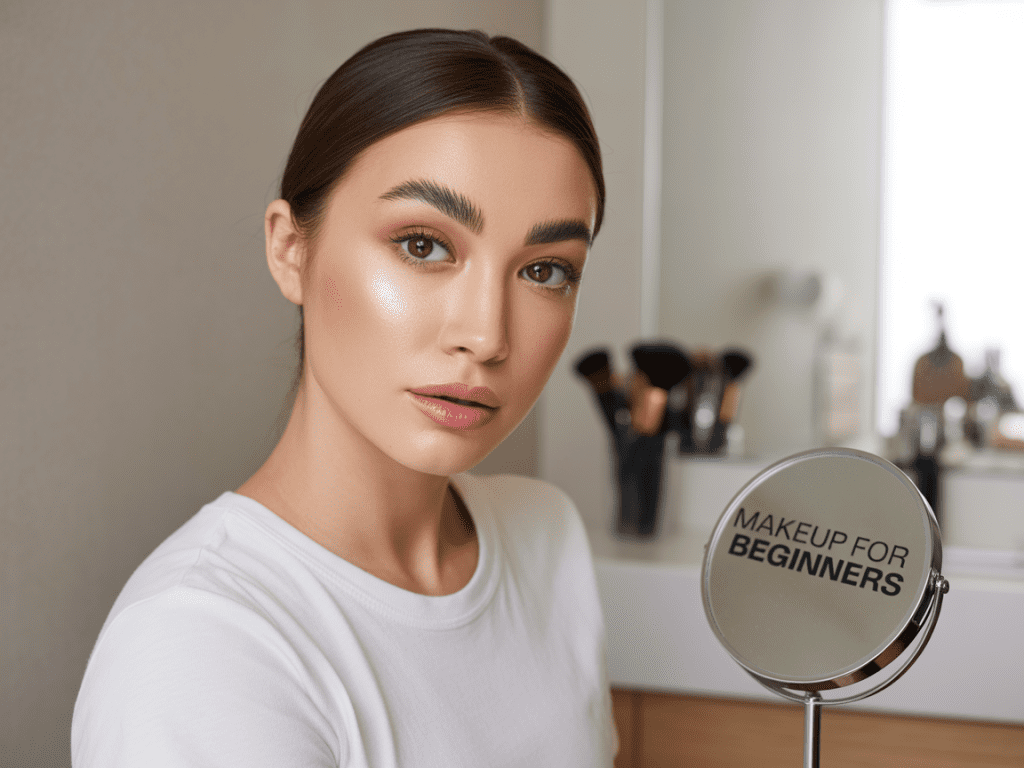
Introduction
So, you want to get into makeup but feel totally lost? Been there, done that, and yes—once accidentally used bronzer as setting powder. (Spoiler: it wasn’t cute 😅). Makeup can feel overwhelming with all the brushes, palettes, and TikTok hacks, but here’s the truth: you don’t need a 40-step routine to look flawless.
Think of this as your starter pack: easy, beginner-friendly steps that actually make sense. No confusing jargon, no “you need $500 worth of products,” just real talk and simple steps that give you a flawless everyday look. Ready? Let’s do this.
Step 1: Start with Skincare (Yes, It Matters)
Makeup is only as good as the skin underneath it. Ever tried foundation on dry patches? Yeah… it clings for dear life.
The Basics
- Cleanser: Wash away oil, dirt, and last night’s pizza grease.
- Moisturizer: Hydrated skin = smoother makeup.
- SPF: Non-negotiable, unless premature wrinkles are your thing.
A good base makes your makeup glide on instead of fighting against your skin. Trust me, skipping moisturizer once left me looking like I powdered my face with chalk. Never again.
Step 2: Primer – The Secret Weapon
Primer might sound like a “pro-only” step, but honestly, it’s a beginner’s BFF. It makes your makeup last longer and helps smooth pores or texture.
Choose the Right Primer
- Mattifying primer: If you’re oily.
- Hydrating primer: If you’re dry.
- Blurring primer: If you’re chasing that “Instagram filter IRL” look.
Think of primer as the glue that holds your face together all day (but in a way less terrifying than it sounds).
Step 3: Foundation – Your Even Skin Tone Bestie
Foundation evens everything out, but it doesn’t mean you need full coverage. Beginners often overdo it and end up looking cakey—been there.
Easy Tips
- Start with a light or medium coverage foundation.
- Use a damp sponge or brush to blend.
- Apply thin layers instead of one heavy coat.
Ever wondered why celebs look flawless and not mask-like? It’s because they build up foundation slowly instead of dumping it on like frosting.
Step 4: Concealer – The Magic Eraser
Concealer is where the magic happens. Dark circles? Red spots? Random blemish that shows up on your big day? Concealer saves the day.
Where to Apply
- Under eyes (triangle shape for brightness).
- Around the nose (where redness hides).
- On blemishes (dab, don’t drag).
Pro tip: Use a shade lighter under your eyes and a shade that matches your skin on blemishes. Otherwise, you risk looking like a reverse raccoon.
Step 5: Set with Powder (But Don’t Go Overboard)
Powder locks everything in. But too much? Hello, cake face.
Types of Powders
- Translucent powder: Works for everyone, great for beginners.
- Pressed powder: Easy to carry for touch-ups.
- Tinted powder: Adds a bit of coverage.
Dust it lightly on oily areas (usually the T-zone). IMO, the trick is to set only where you need it—not everywhere.
Step 6: Brows – Frame the Face
Brows change everything. I swear, the first time I filled mine in properly, I looked like I finally slept eight hours.
Beginner-Friendly Brow Tips
- Use a brow pencil or tinted gel.
- Follow your natural shape.
- Don’t overdraw (unless Sharpie chic is the goal).
Think “your brows, but slightly better.”
Step 7: Eyeshadow – Keep It Simple
You don’t need a rainbow palette to look good. A few neutral shades can create endless looks.
Easy Eyeshadow Routine
- Base shade: Sweep a light neutral color all over your lid.
- Crease shade: Use a medium brown in the crease for depth.
- Lid shade: Add a shimmer or matte tone for pop.
Boom—three steps, and you look like you actually know what you’re doing.
Step 8: Eyeliner – The Scariest but Most Rewarding Step
Okay, eyeliner freaks out beginners (and tbh, even pros sometimes). But it’s worth it.
Quick Tips
- Use a brown pencil liner for softer looks.
- Stick to the upper lash line to define eyes.
- Skip the dramatic wing until you’re comfortable.
Ever tried a wing for the first time and ended up with eyeliner up to your temples? Same. Baby steps.
Step 9: Mascara – Instant Transformation
Mascara might be the quickest “wow” step. Even if you skip eyeshadow, mascara makes you look awake.
Mascara Musts
- Wiggle the wand at the base, then pull upward.
- Do 2–3 coats for drama.
- Use waterproof if you cry easily (or just watch too many TikToks).
Seriously, mascara alone can make you feel put-together with zero effort.
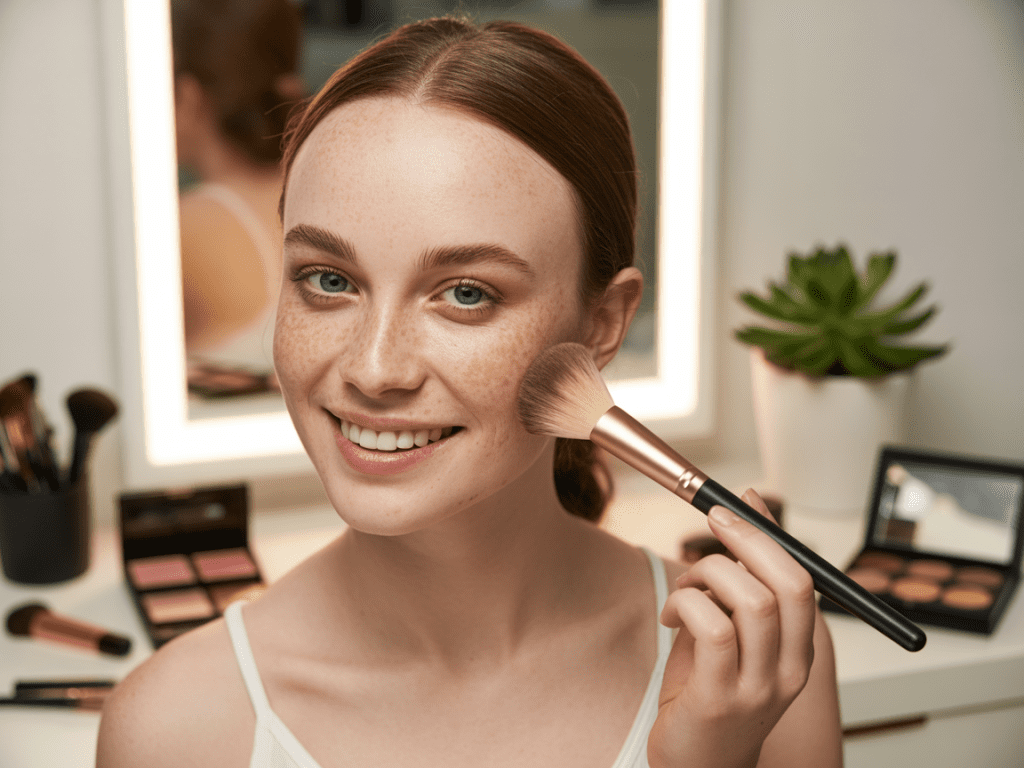
Step 10: Blush – The Healthy Glow
Blush adds life back into your face. Without it, foundation can make you look flat.
Shades to Try
- Peachy tones: Universally flattering.
- Pinks: Fresh, youthful vibes.
- Berry tones: Gorgeous on deeper skin tones.
Smile, dab blush on the apples of your cheeks, and blend upward. Congrats, you’re alive again!
Step 11: Bronzer & Contour – Optional but Fun
For beginners, bronzer is way easier than contour. Contour requires precision, while bronzer just gives you warmth.
- Bronzer: Sweep across temples, cheekbones, and jawline.
- Contour: Place under cheekbones for more definition.
Think of bronzer as vacation vibes and contour as cheekbone drama. Pick your fighter.
Step 12: Highlighter – Glow Baby Glow
Highlighter makes you look radiant without trying. But please, blend. No one wants a random streak of glitter on their face.
Where to Apply
- Tops of cheekbones.
- Brow bone.
- Tip of the nose (tiny dot, not Rudolph-style).
It gives you that “lit from within” glow everyone chases.
Step 13: Lips – The Final Touch
Your lip choice ties everything together.
Beginner Faves
- Nude gloss: Effortless and forgiving.
- Soft pink lipstick: Fresh everyday vibe.
- Lip liner + gloss combo: Makes lips look fuller without injections.
And please, throw a lip balm in your bag. Crusty lips ruin even the best look.
Tools That Actually Make a Difference
You don’t need 20 brushes, but a few basics help:
- Foundation brush or sponge.
- Blush/bronzer brush.
- Eyeshadow brush (flat + blending).
- Brow spoolie.
IMO, a damp sponge is life-changing—it blends everything seamlessly and makes you look pro without trying.
Common Beginner Mistakes (and How to Avoid Them)
Let’s be real—mistakes happen. Here are the usual suspects:
- Too much foundation → Start with less, build if needed.
- Skipping blending → Blend like your life depends on it.
- Wrong shade match → Test on your jawline, not your hand.
- Forgetting to set → Oil will win if you don’t.
We’ve all done at least one of these. The key is learning and laughing at your “oops” moments.
Building Confidence in Makeup
Here’s the truth: makeup is trial and error. No one nails eyeliner the first time. Or the second. Or maybe the tenth. But every try gets easier.
Practice when you’re not rushing somewhere. Experiment with shades you normally wouldn’t. And remember—it’s just makeup. If it flops, wipe it off and start again. 🙂
Conclusion
Makeup for beginners doesn’t have to feel overwhelming. With a simple step-by-step routine, the right products, and a little patience, you can create a look that’s flawless, fresh, and totally you.
Start small: skincare, foundation, mascara, lip gloss. Add more as you get comfortable. The point isn’t perfection—it’s feeling confident and having fun.
So, what’s your next step? Grab your sponge, put on some music, and play around. Who knows? In a few weeks, you might be the one giving out makeup tips to your friends. 😉
Garnier Micellar Water, Hydrating Facial Cleanser & Makeup Remover, Suitable for Sensitive Skin, Vegan, Cruelty Free, 13.5 Fl Oz (400mL), 1 Count
$8.82 (as of December 10, 2025 14:37 GMT +00:00 - More infoProduct prices and availability are accurate as of the date/time indicated and are subject to change. Any price and availability information displayed on [relevant Amazon Site(s), as applicable] at the time of purchase will apply to the purchase of this product.)